

How To Install Back Up Camera
Guide: How to Install a Backup Camera in a RAM Promaster City
Following upward on my previous guide on how to install an aftermarket radio supporting carplay, this guide volition show you how to install a backup photographic camera into the stock enclosure.
Parts List
- Backup Camera: NATIKA IP69K Waterproof Nighttime Vision 720p Ebay Amazon
- Epoxy (I used Loctite repair putty) Ebay Amazon
Tools:
- Philips #1 and #2 drivers
- Wire joining kit: soldering/stripping tools, tap connectors, etc.
- Red/black wire for 12V power supply
- Some long, flexible, just strong tool for guiding wires within the trunk of the van. I used the outer loop of a hoop skirt.
Wiring
The fill-in camera requires two things: 12V ability and analog video. The video cable also includes an extra wire which can be used to transport the backup signal to the aftermarket radio, simply the Promaster Metropolis already includes that bespeak in the wiring harness, so nosotros won't be needing it.
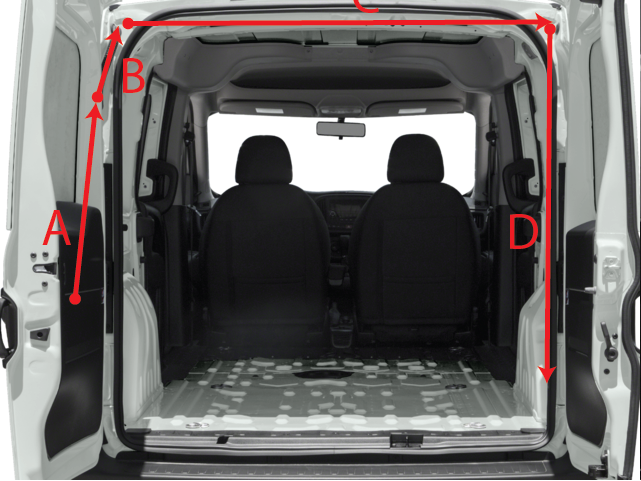
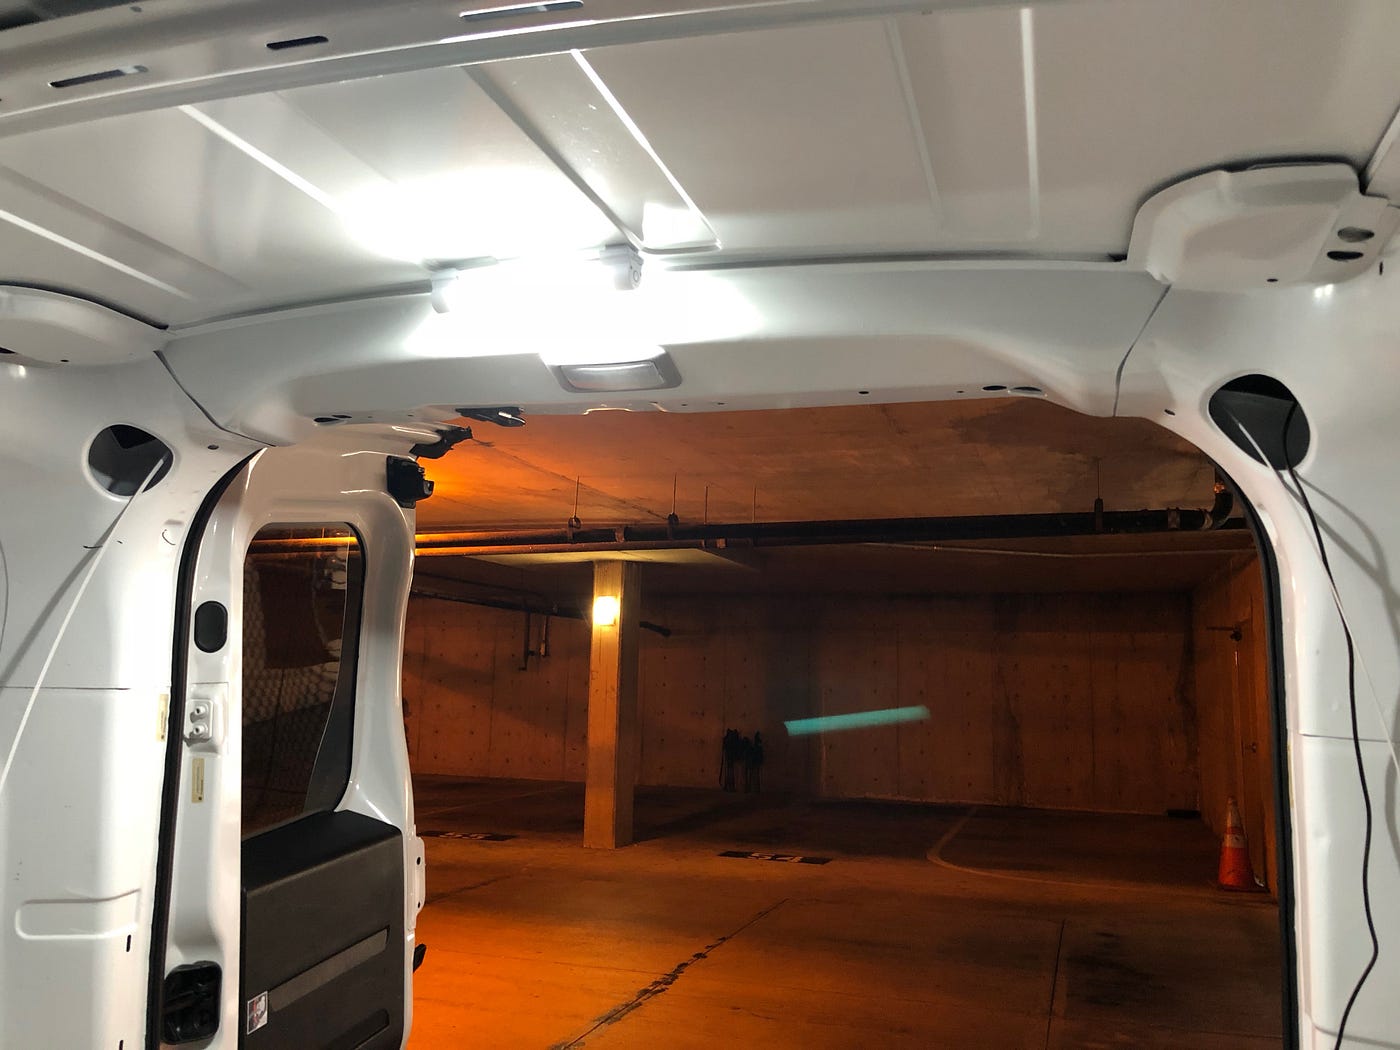
We'll get 12V power by tapping into the rear 12V ability source, and nosotros'll send analog video on this winding path:
This path follows the mill wiring and so the cablevision volition exist hidden. Note that I initially tried going on the driver'due south side but there's non enough space to pass the cable through in the body (where segment Eastward would exist), so I had to first from scratch on the rider's side.
Okay let's brainstorm!
Segment B
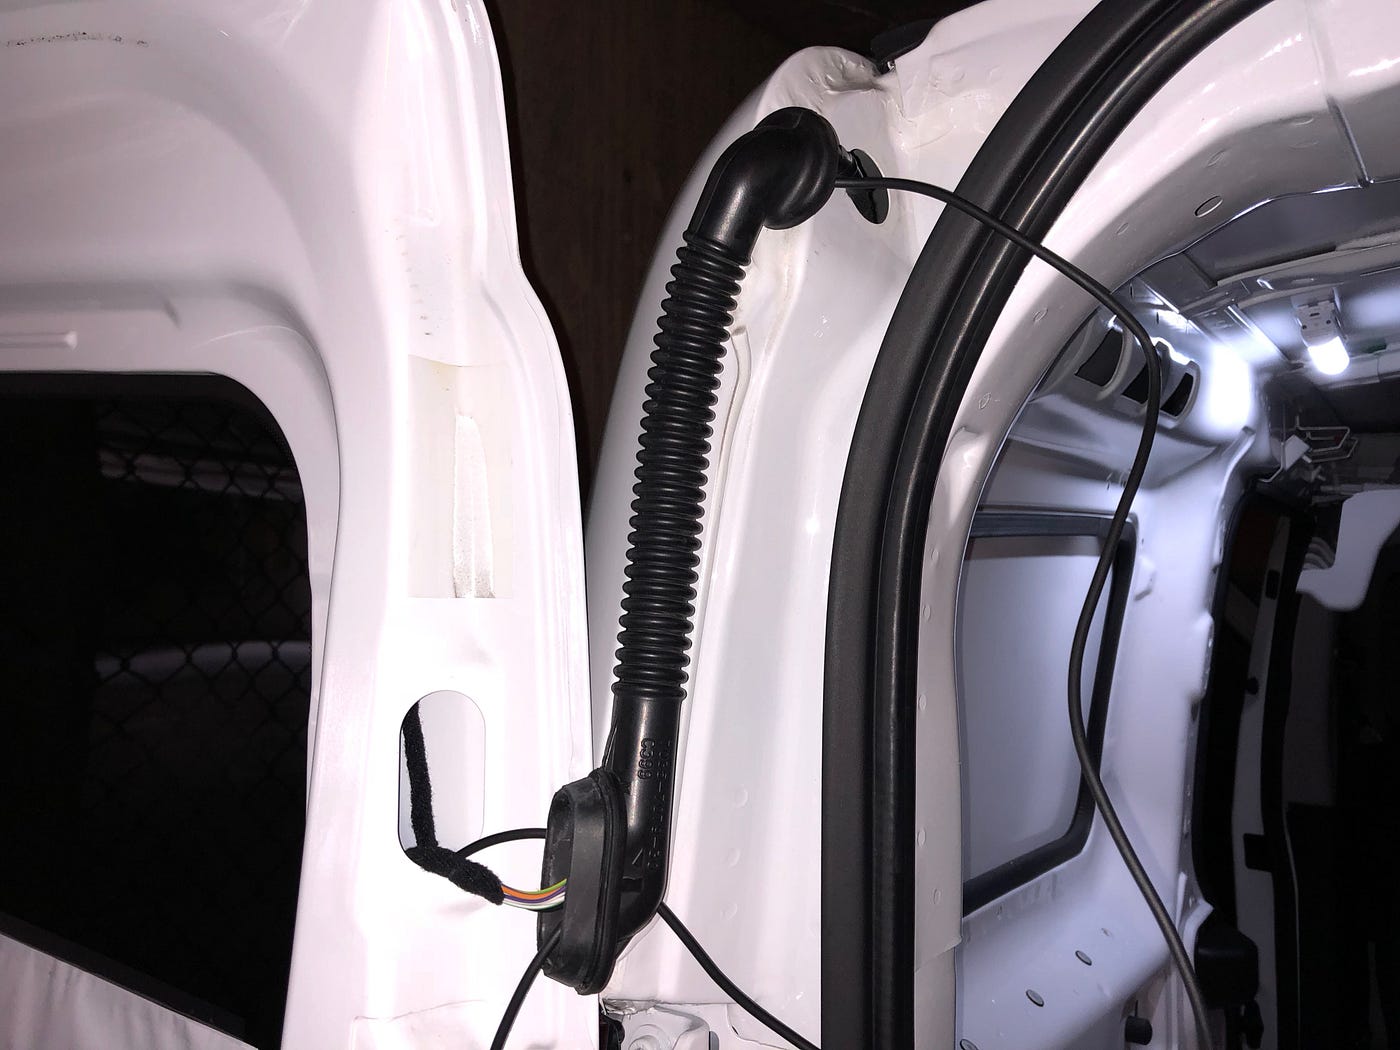
It'southward way easier to snake the video cable from peak to bottom, which is why we're doing segment B get-go. Remove the safety tube from the torso and door frame, and so snake the video cable from top to lesser. It takes some endeavor, I ended upward using the prophylactic hose to push the head down, then catch it, then pull, and repeat, until I could pull information technology through.
Segment A
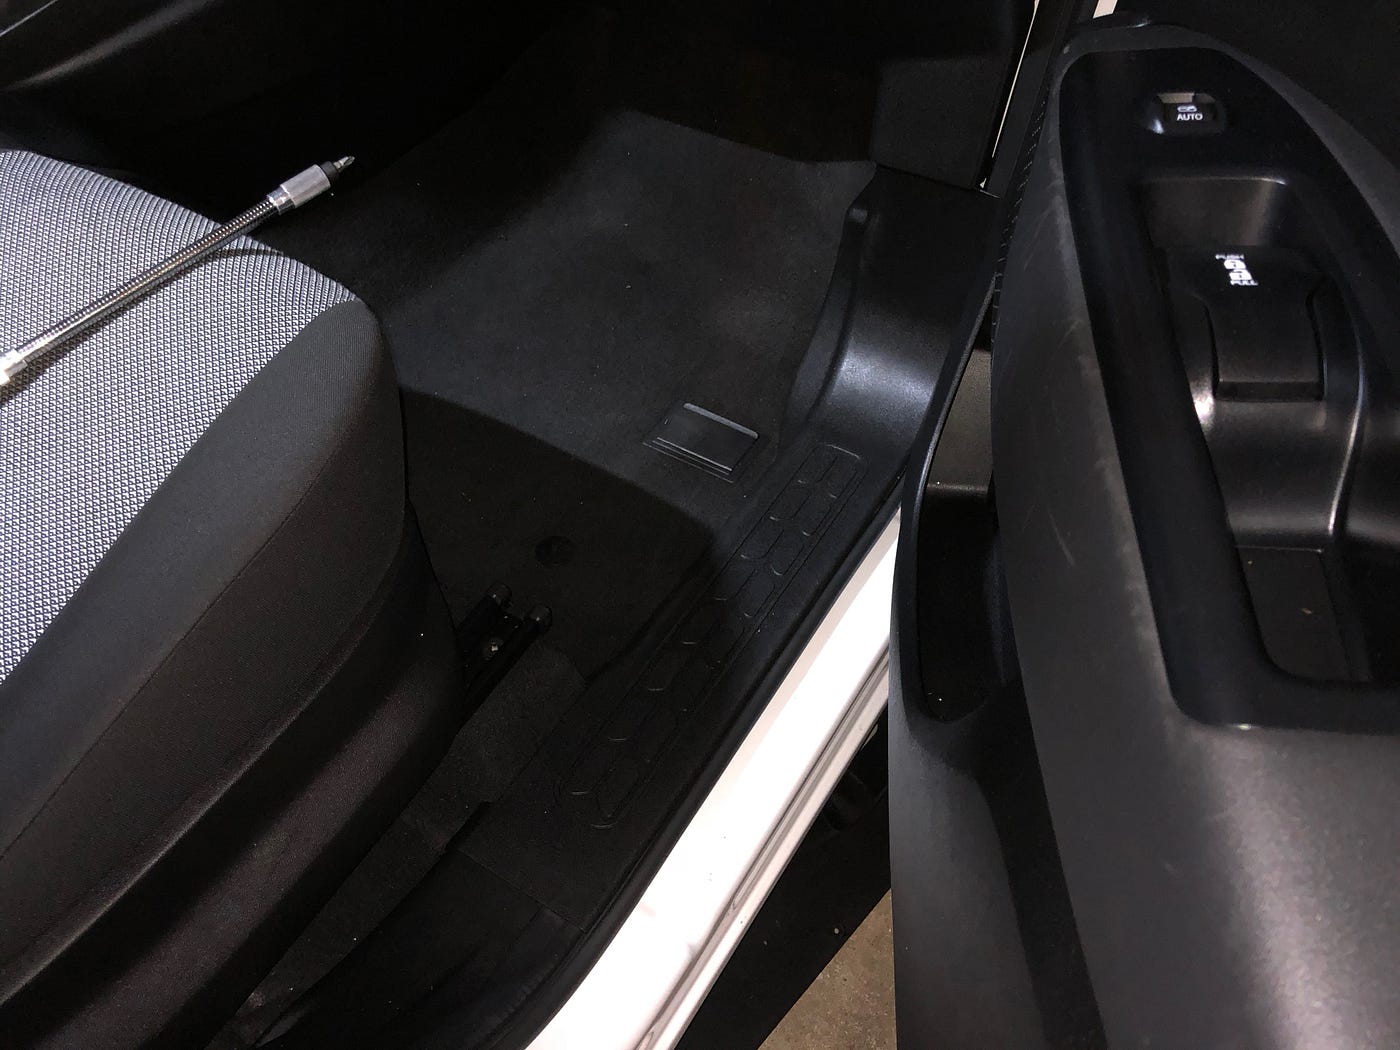
Once that's done, you'll want to remove the panel on the inside of the driver'southward side left door. Use a panel removal tool or piece of plastic to pry the door off.
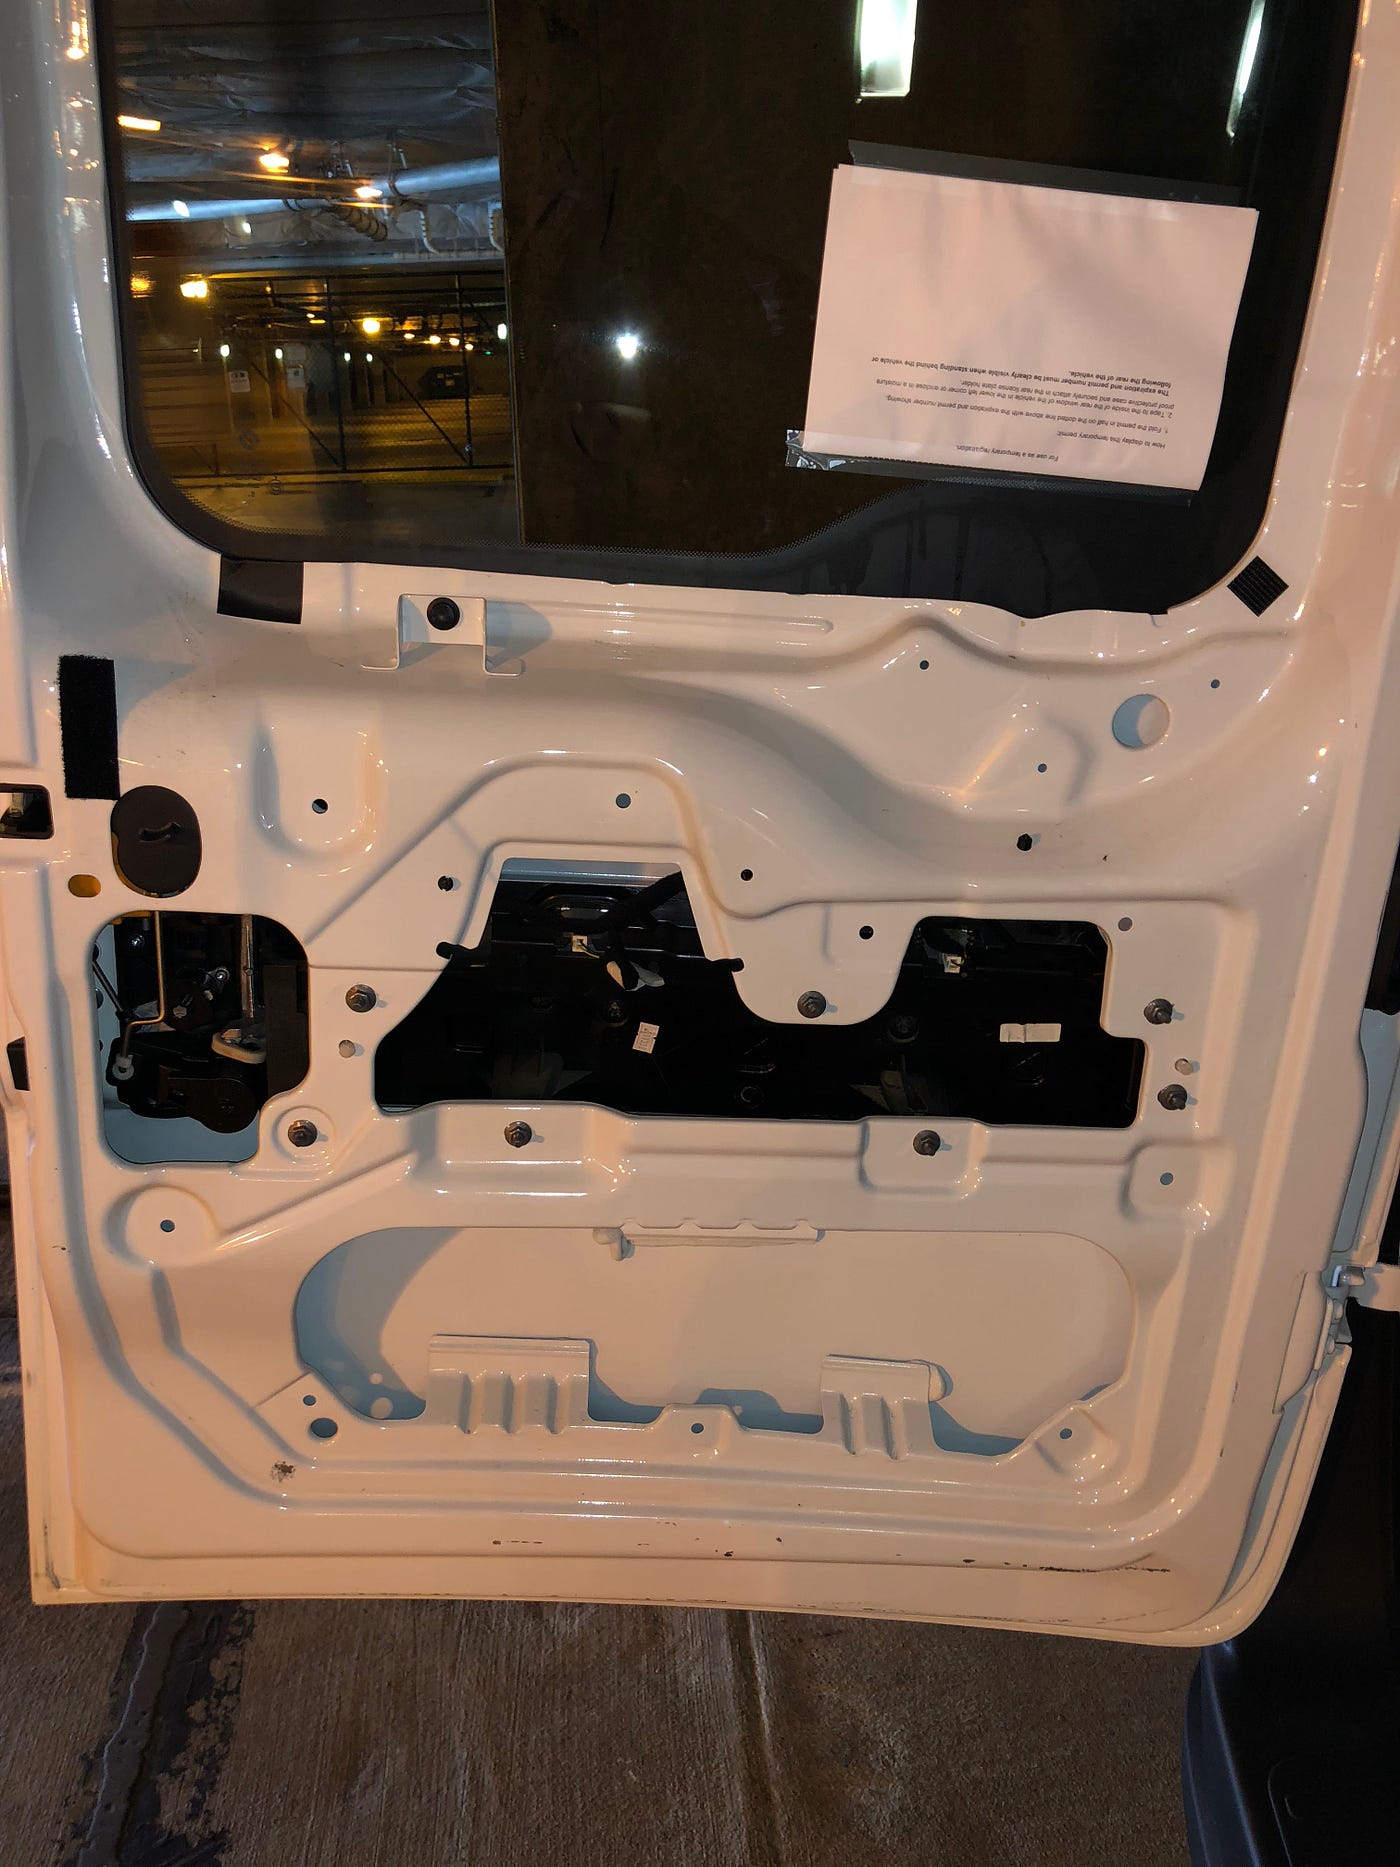
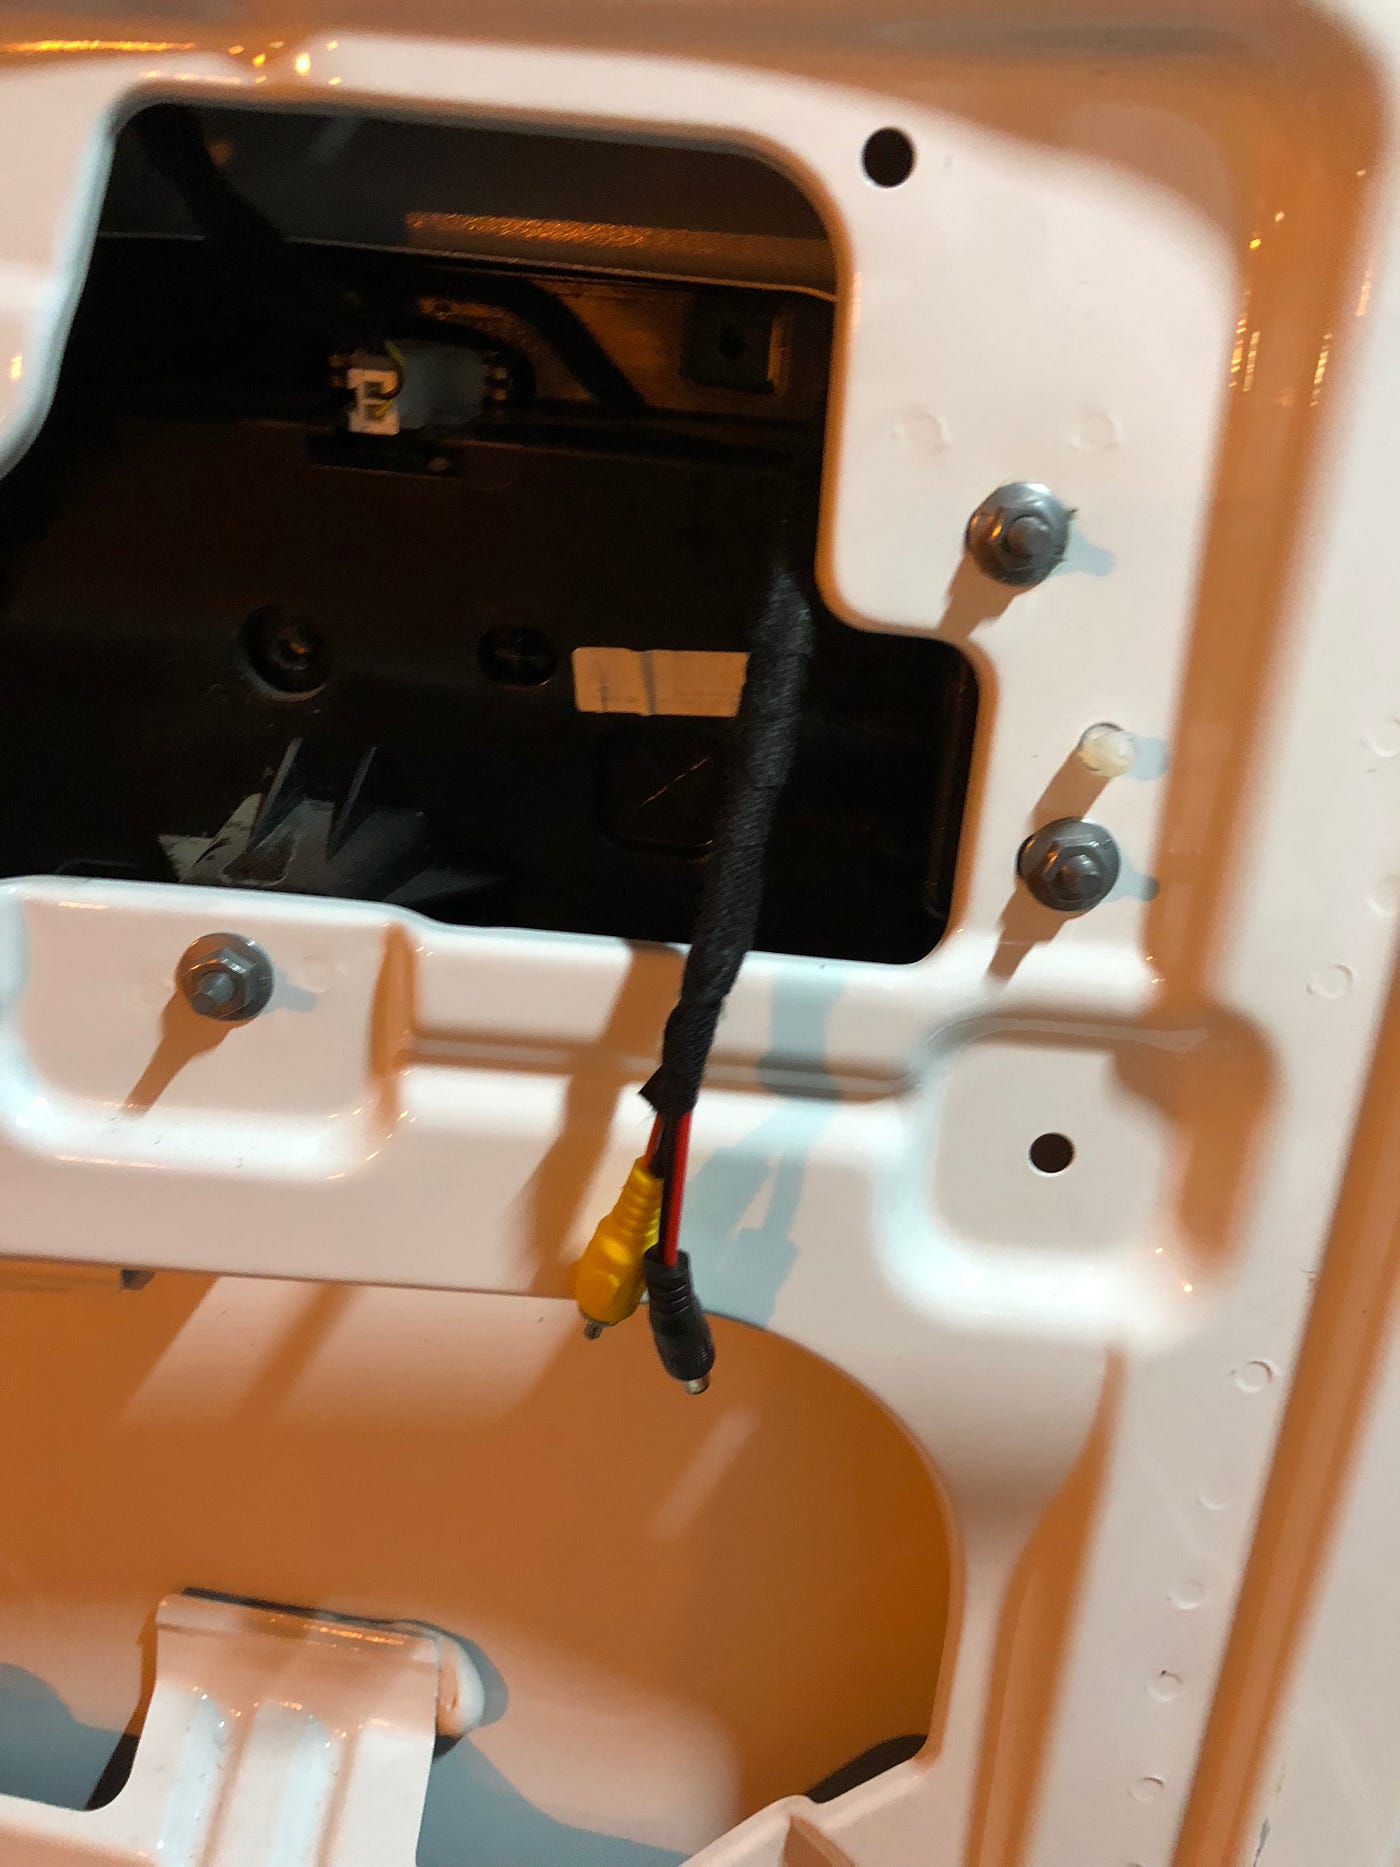
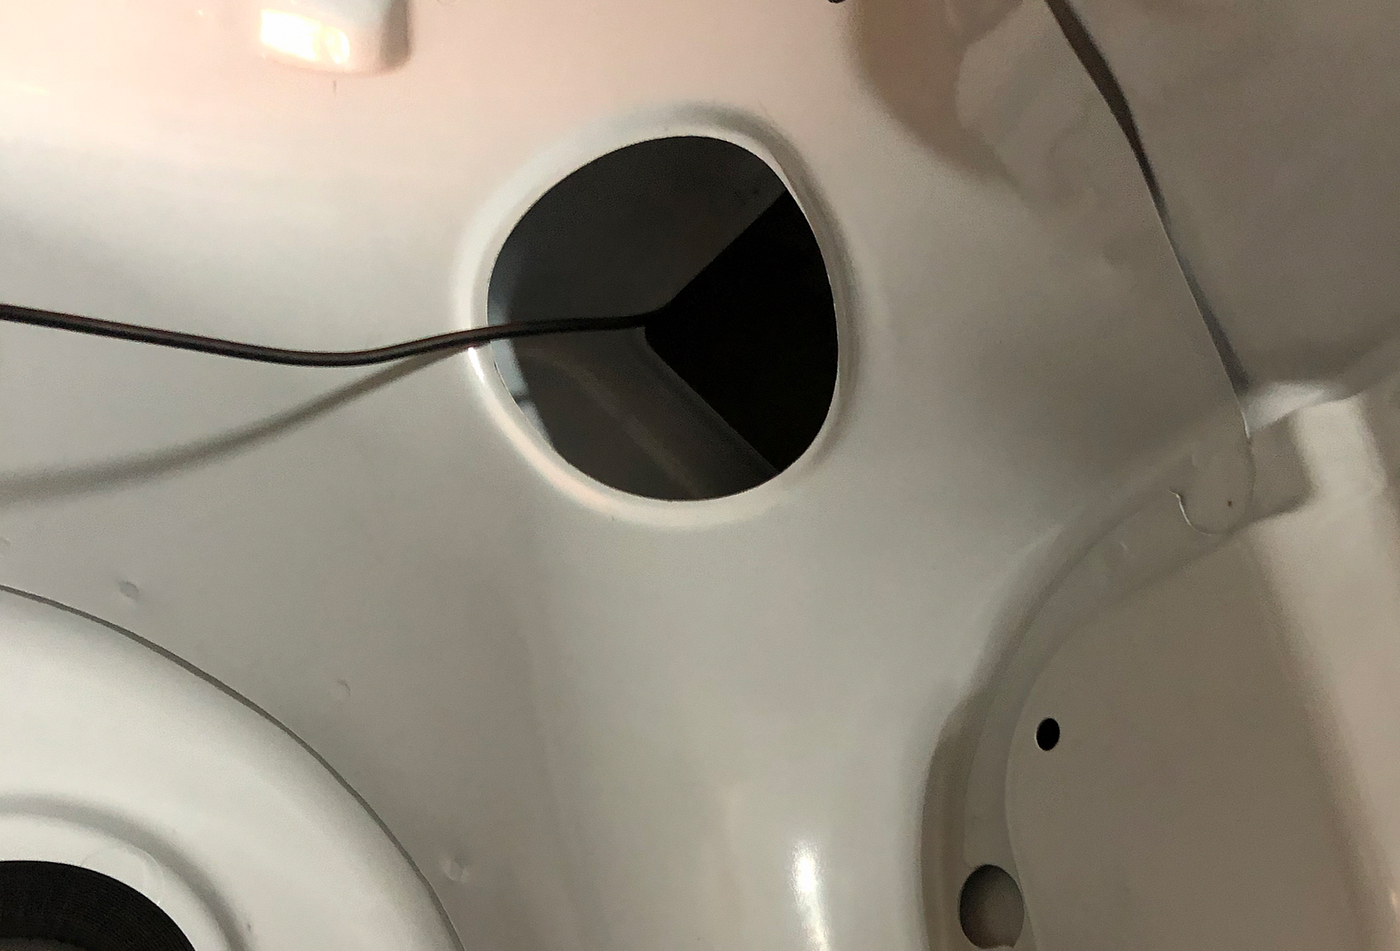
Once done, you lot'll be able to see where the photographic camera housing is. Next, snake your guide wire (I'm took this from a hoop skirt) through these two points.
Record the cablevision'south connector to the cease of the wire, then pull all the way through:

Do the aforementioned for the power wire. You'll want to leave about this much hanging from the other end:
Segment B Revisited
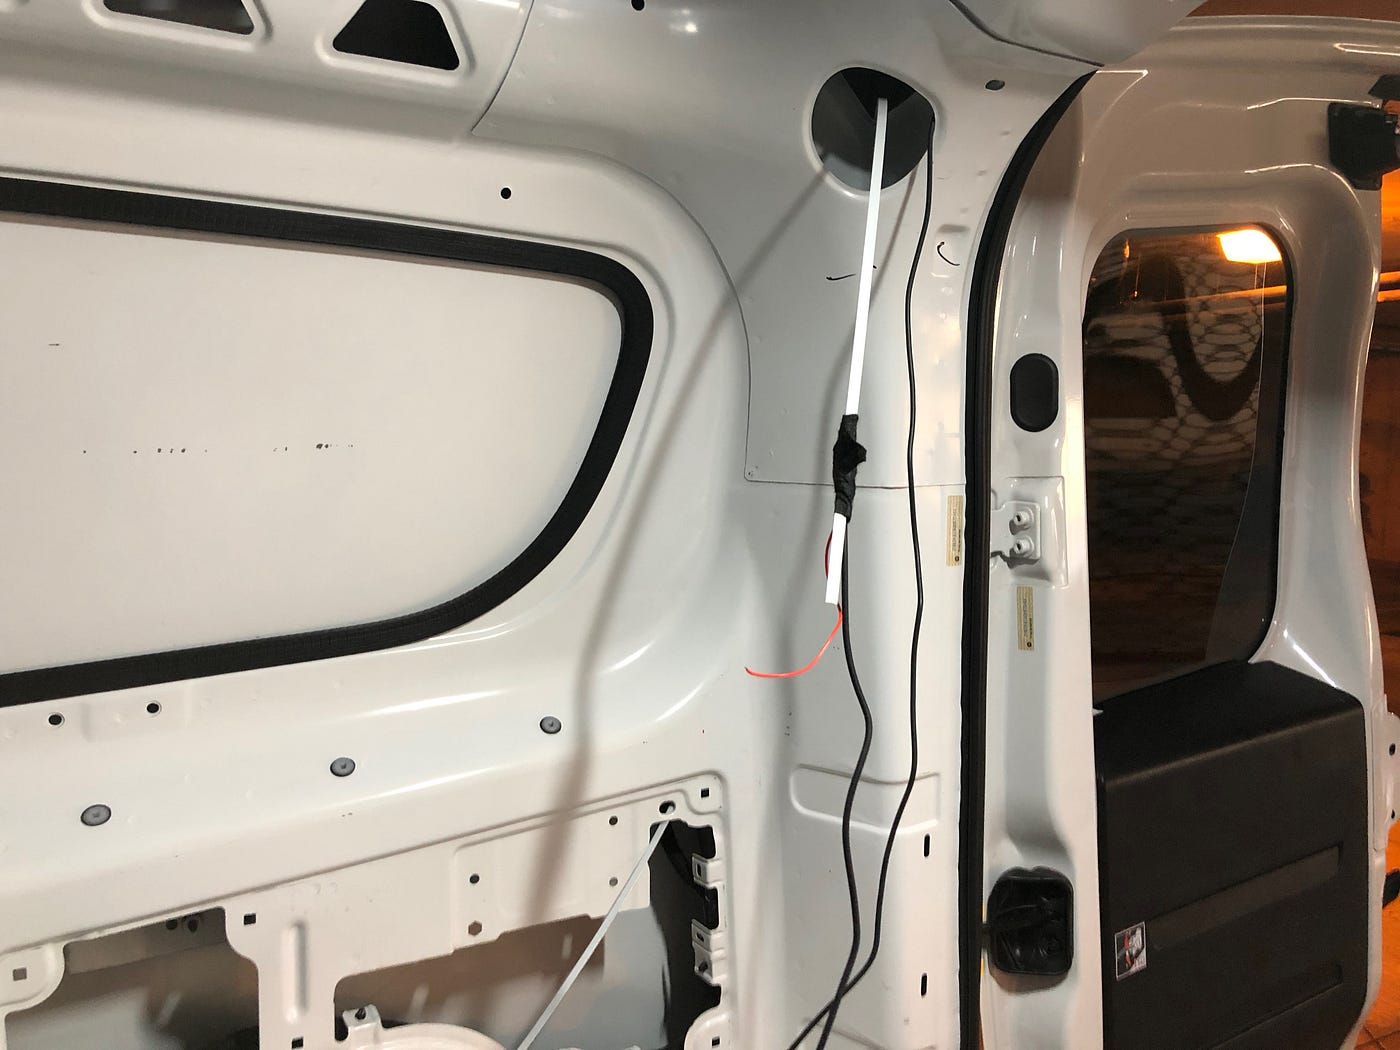
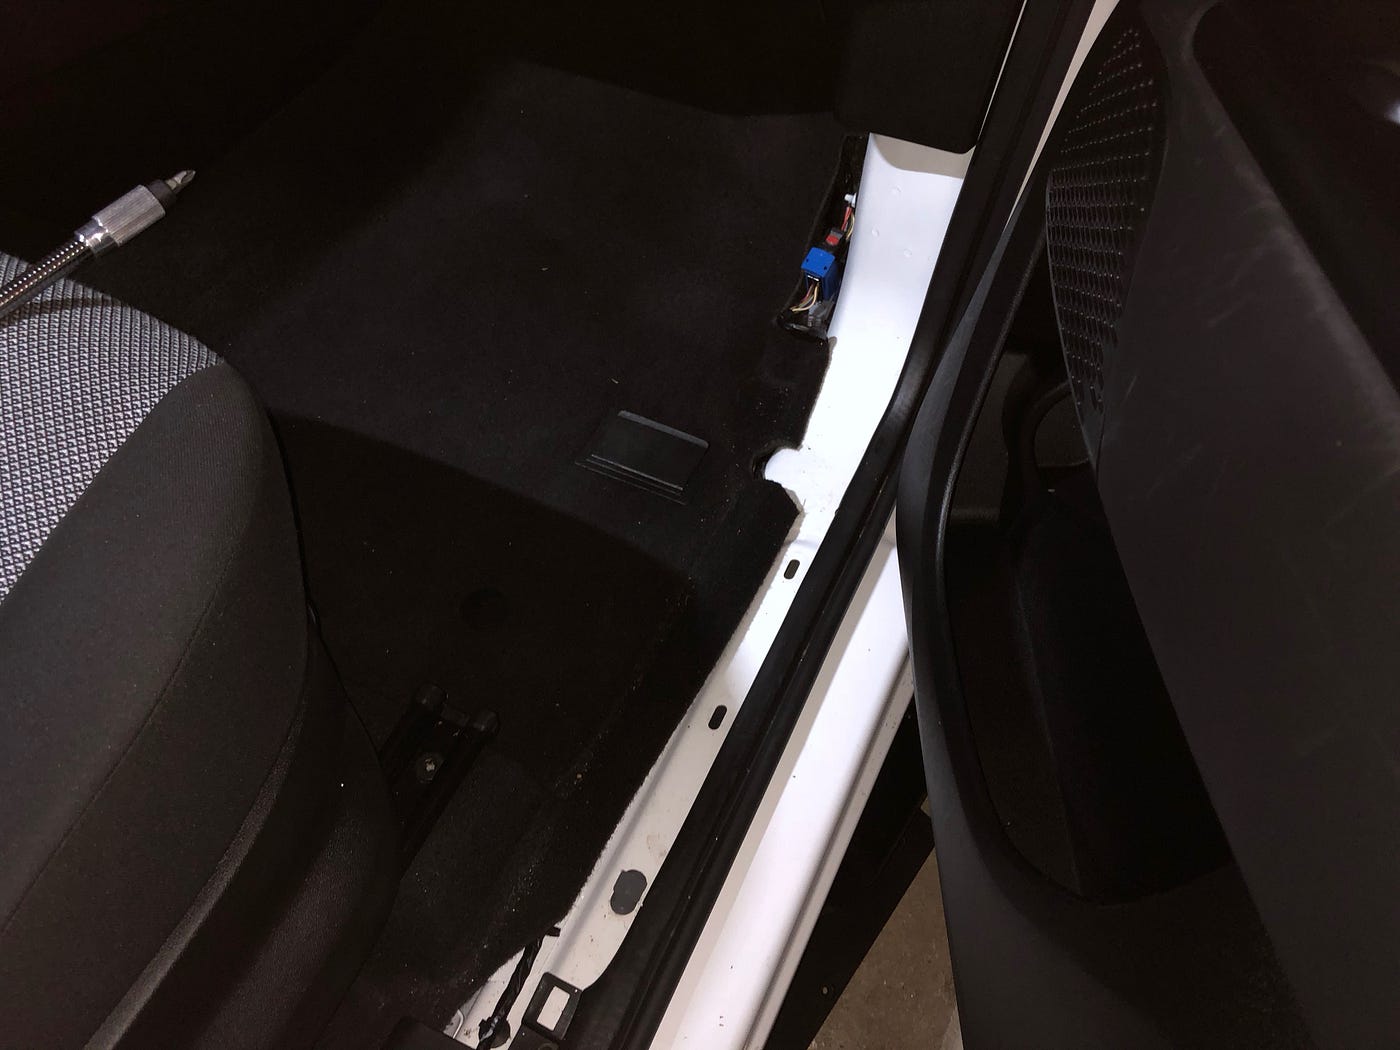
Now push your ability cable through the rubber tubing, going from bottom to top.
One time complete, yous should have both ability and video coming through the top of the safety tube. Push through the pigsty in the body and receive on the other side to complete.
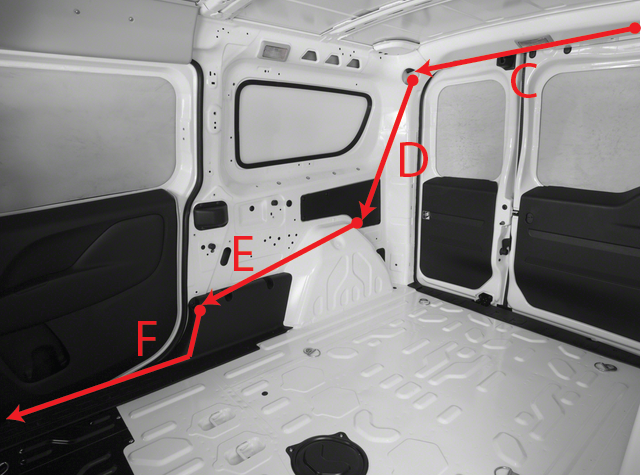
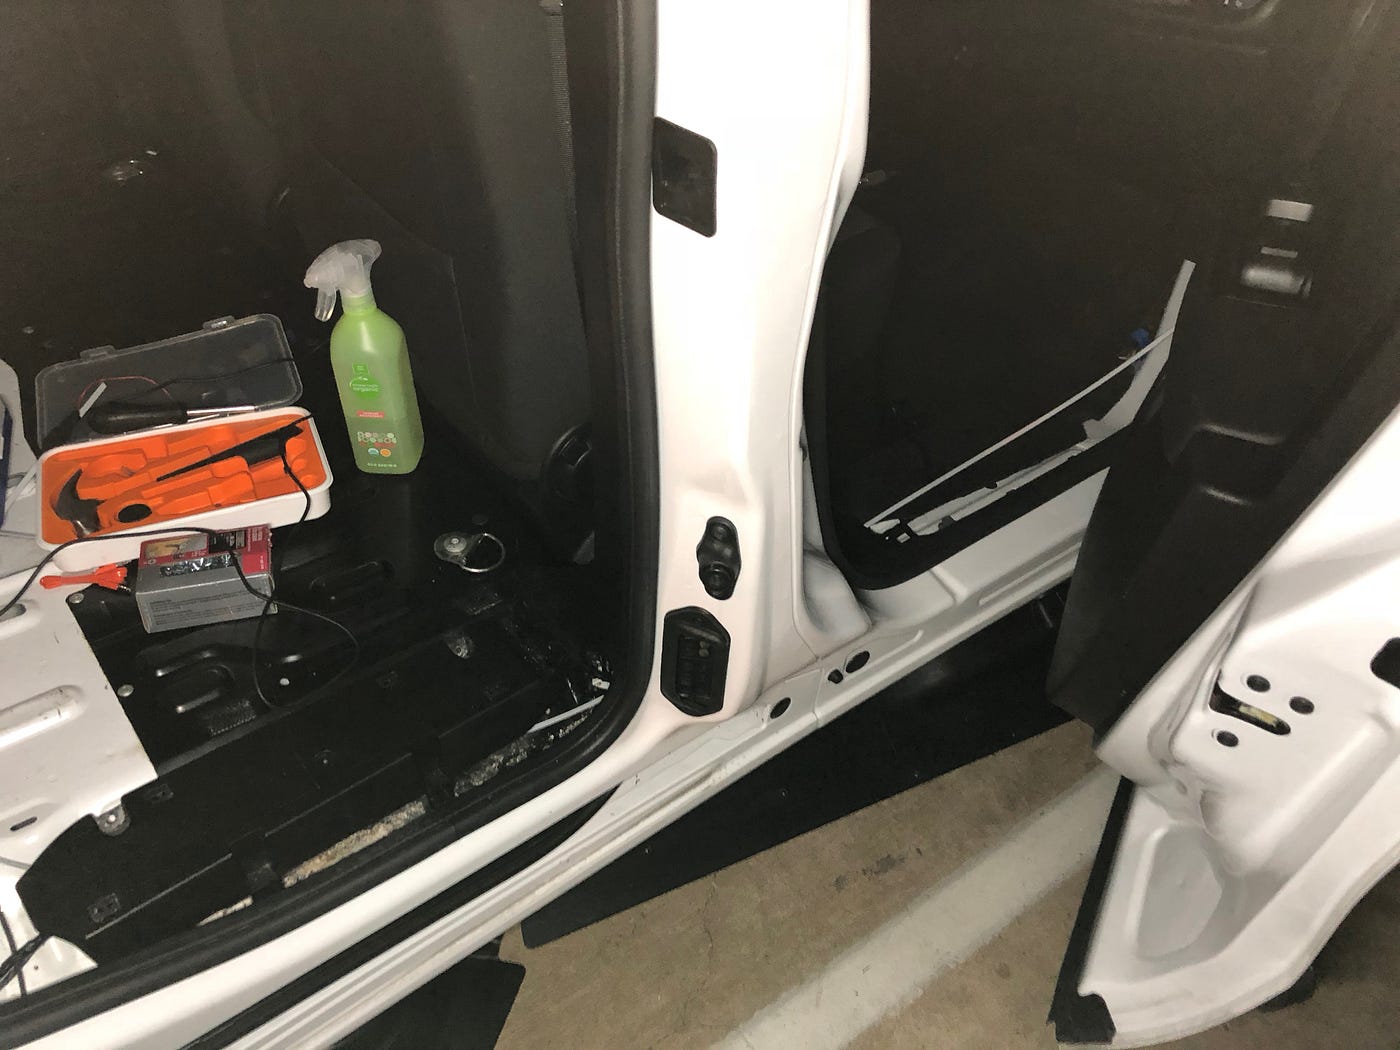
Segment C
Get out the power cablevision hanging from the driver's side hole and snake just the video cable to the passenger side hole. Same technique, leave the connector taped to the tail of the guide wire and pull through, like you lot would with a needle while sewing.
Segment D
There'southward a panel you'll demand to remove to go access for this section but the pins pull correct out when you pull with your panel removal tool.
Segment East
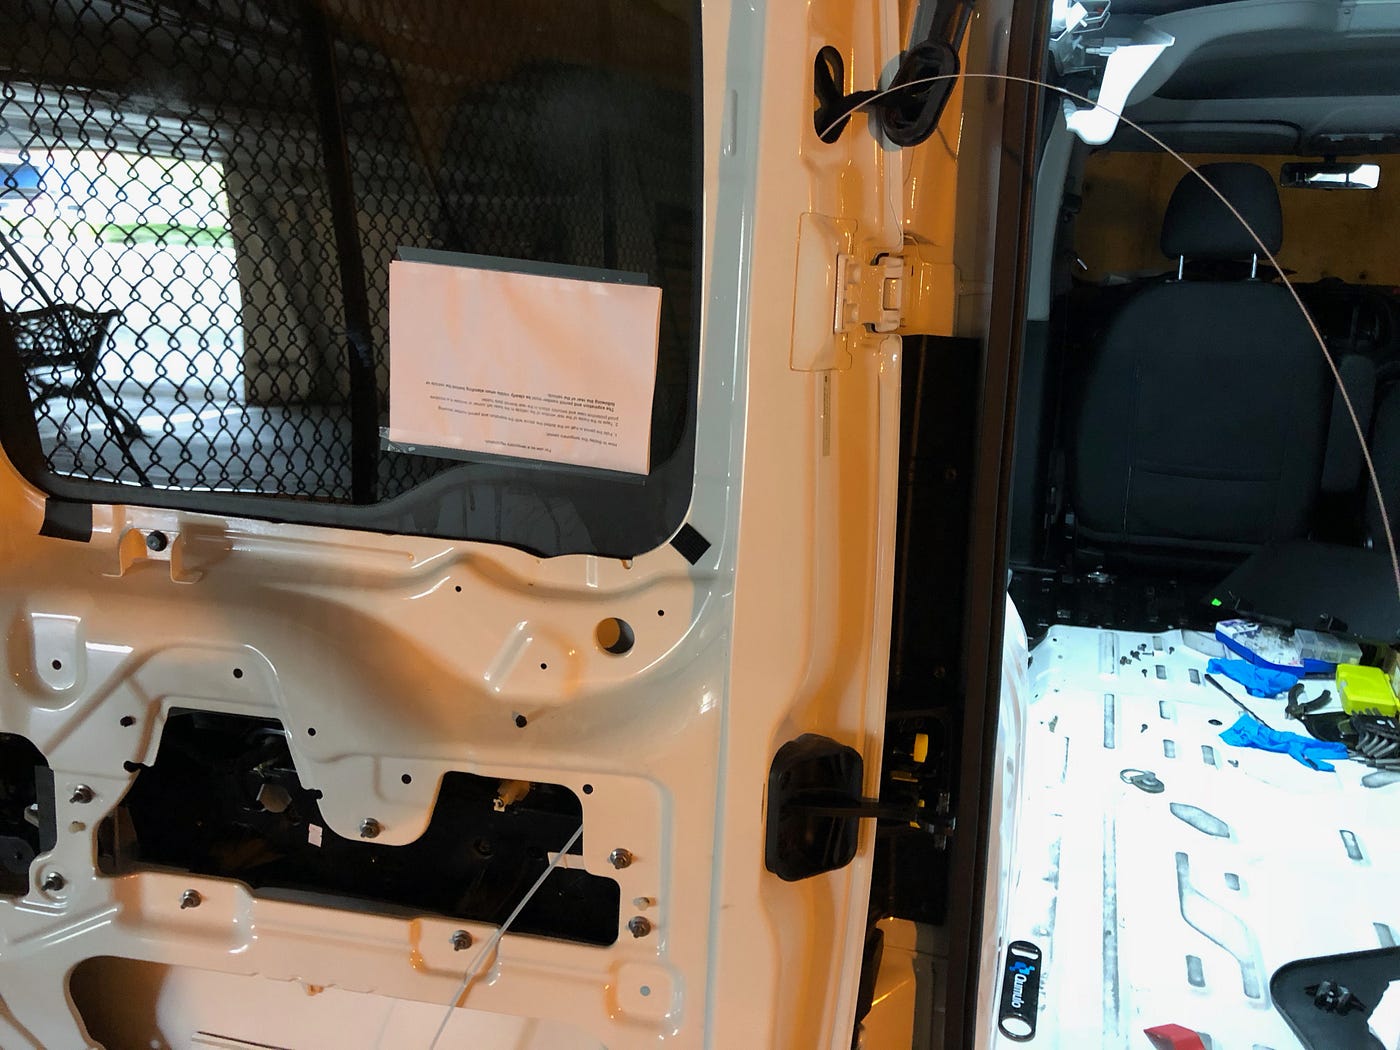
Remove the panel where you stride into the van on the passenger's side. It'southward held in place with mainly screws and velcro. Yous'll demand the Philips #1 head for these screws.
Laissez passer the cable through, post-obit the existing wire, but don't get past the door notwithstanding.
Segment F
Y'all'll want to remove the same step console in the passenger cabin.
Before you tin can remove information technology, yous'll need to disengage a single screw where the passenger'due south anxiety become. So, pop the panel off.
At present that both sections are attainable, serpent the wire all the mode through.
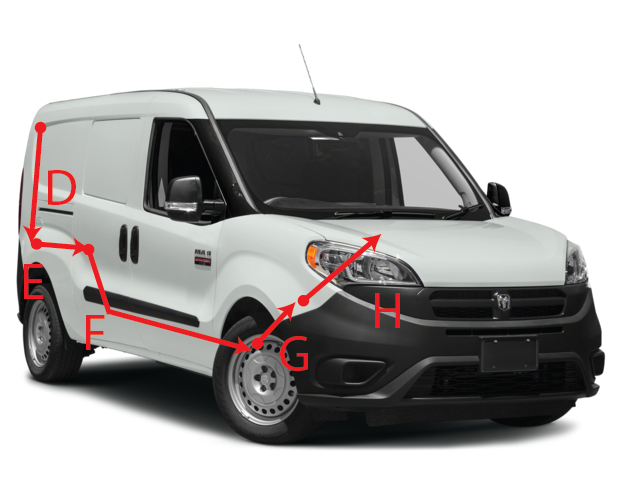
Segment G
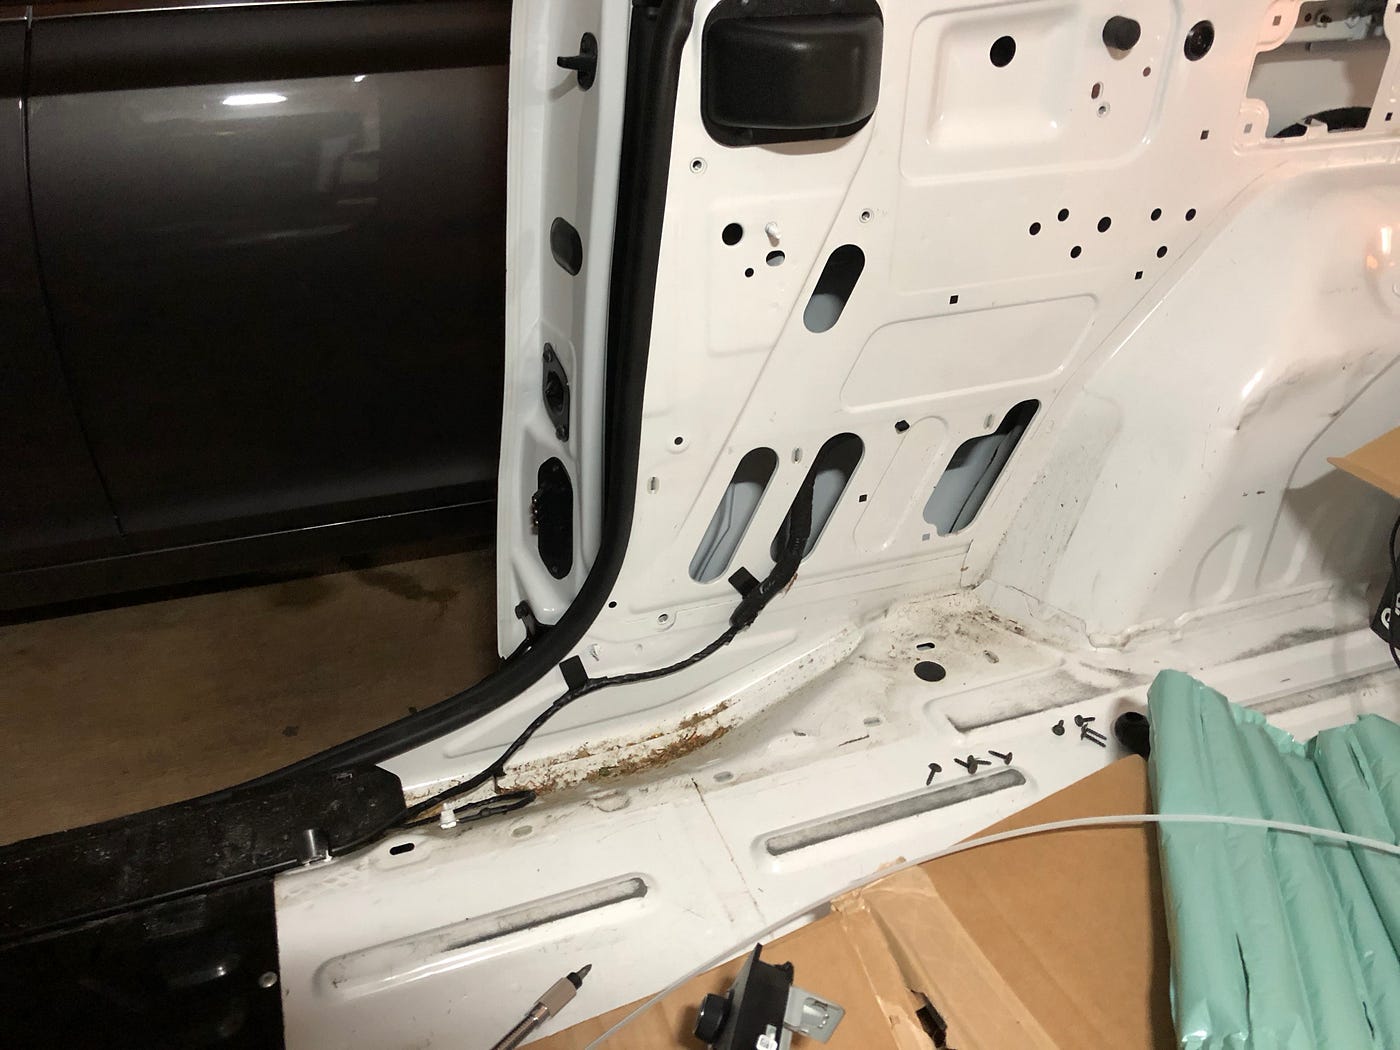
The carpet underneath the glove box is held in place with 2 pins, pull to release, then run the cable along the bottom.
Segment H
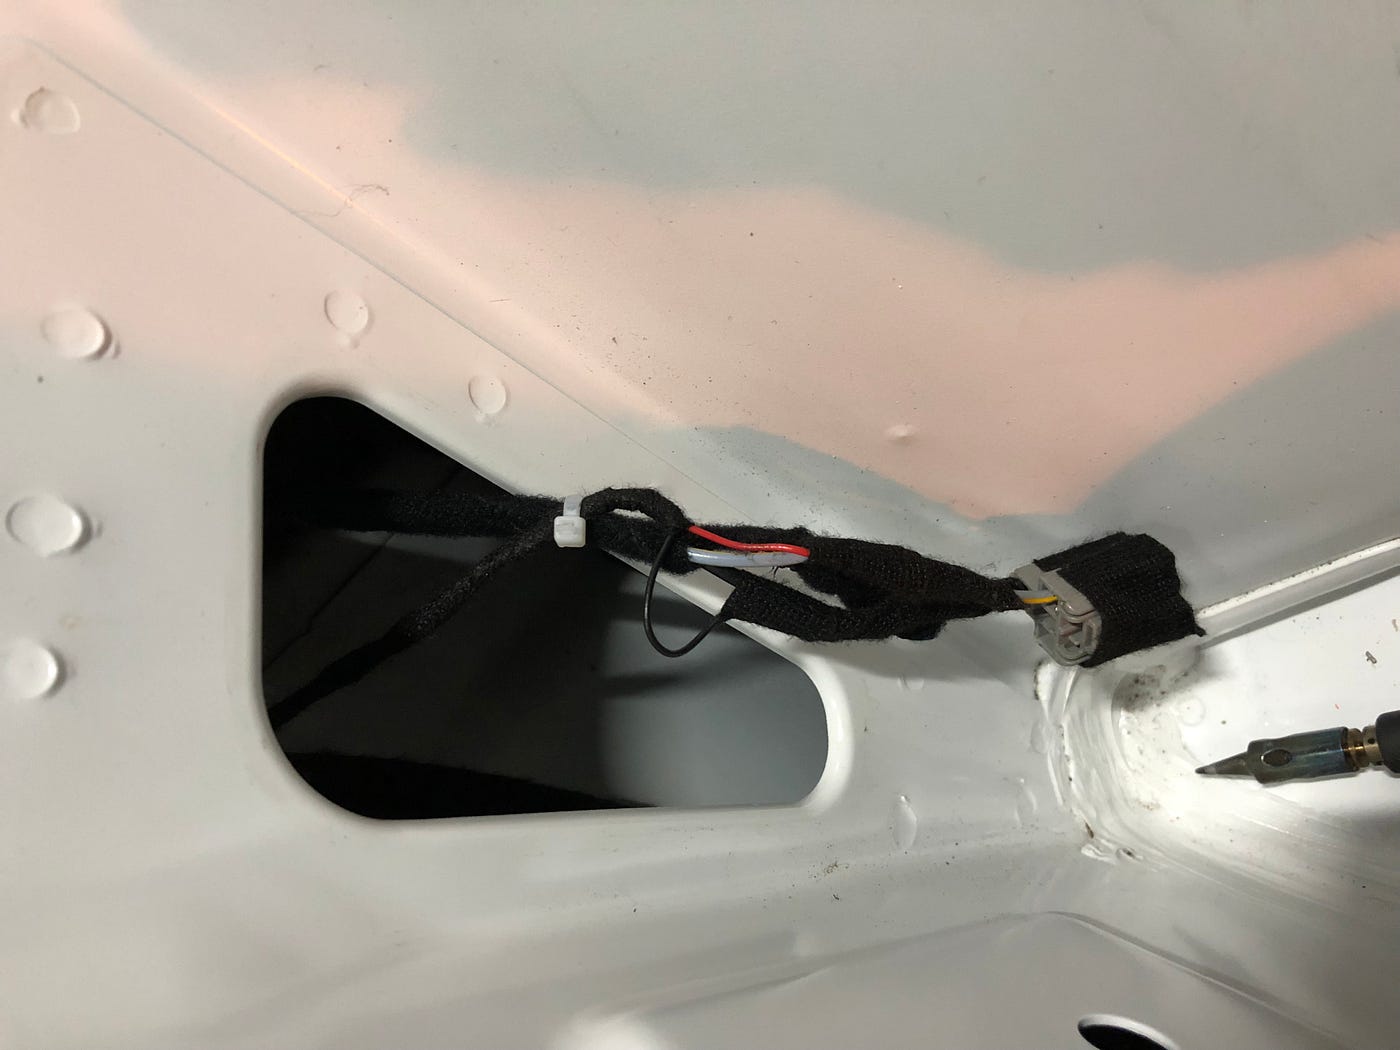
Snake the cable through to the within of the dash.
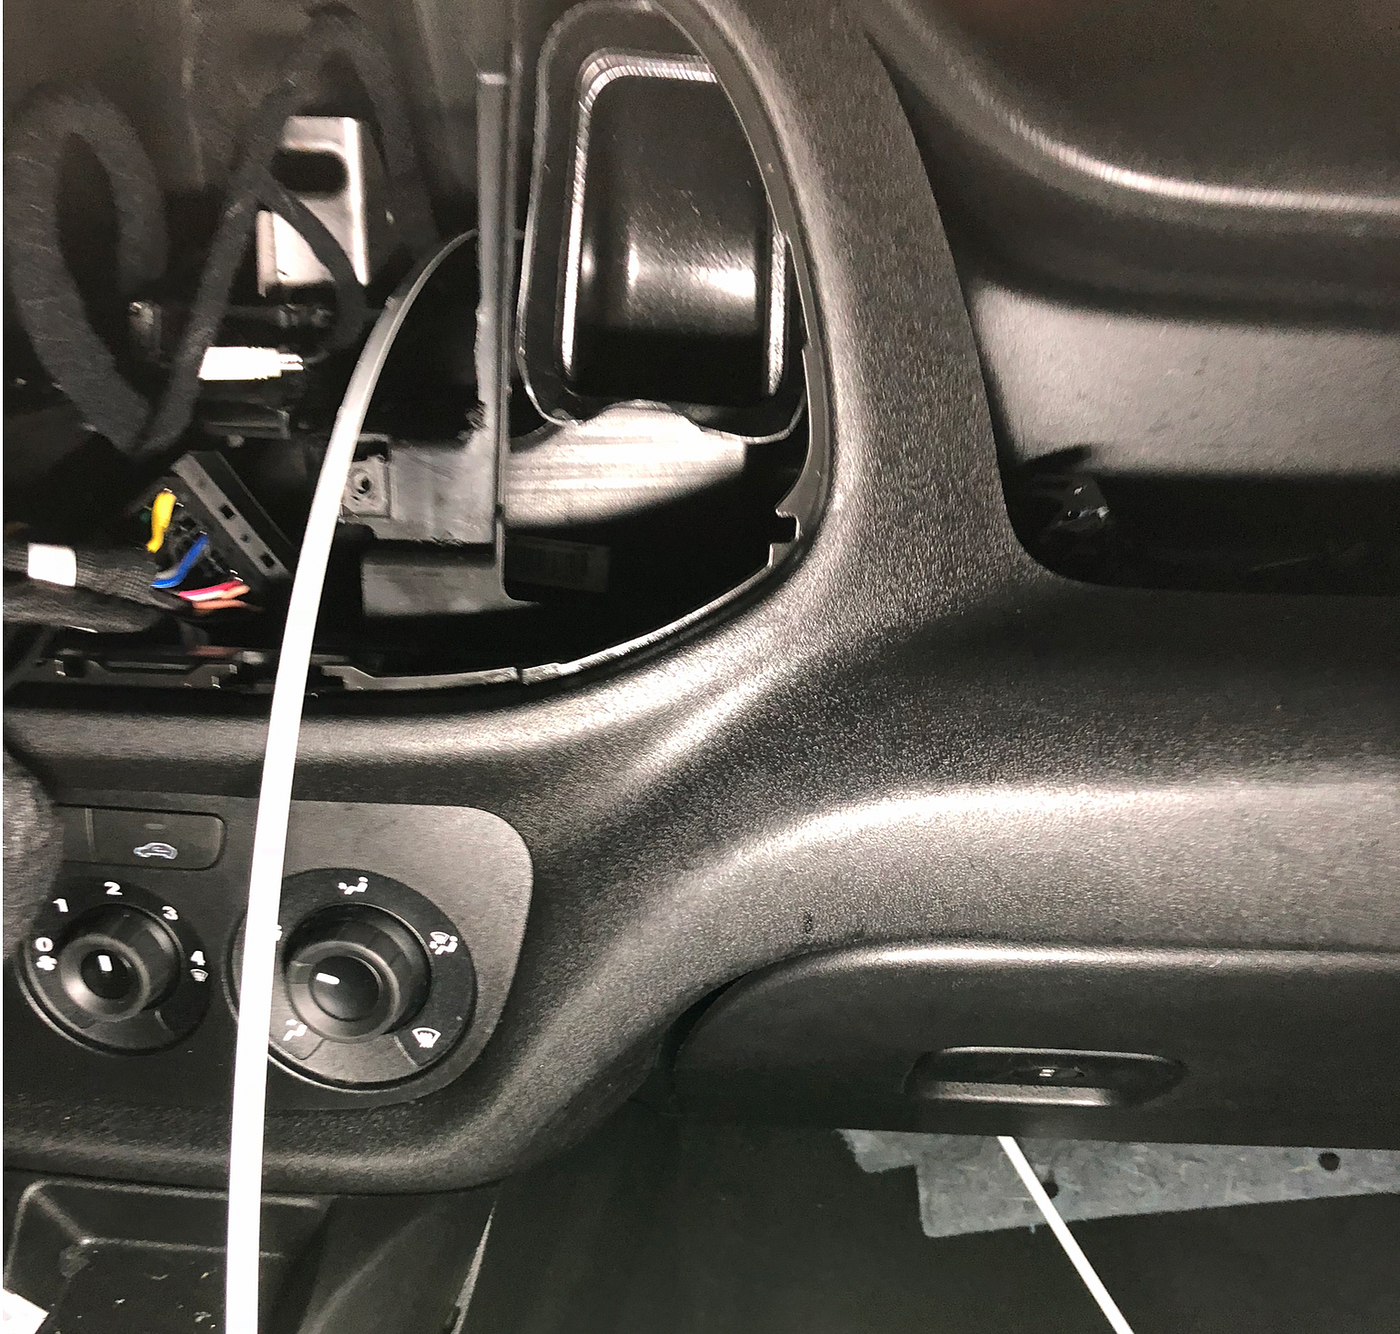
At this point you can tie the cable to the car'southward wiring harness with either tesa record or a zip tie.
Tapping Power
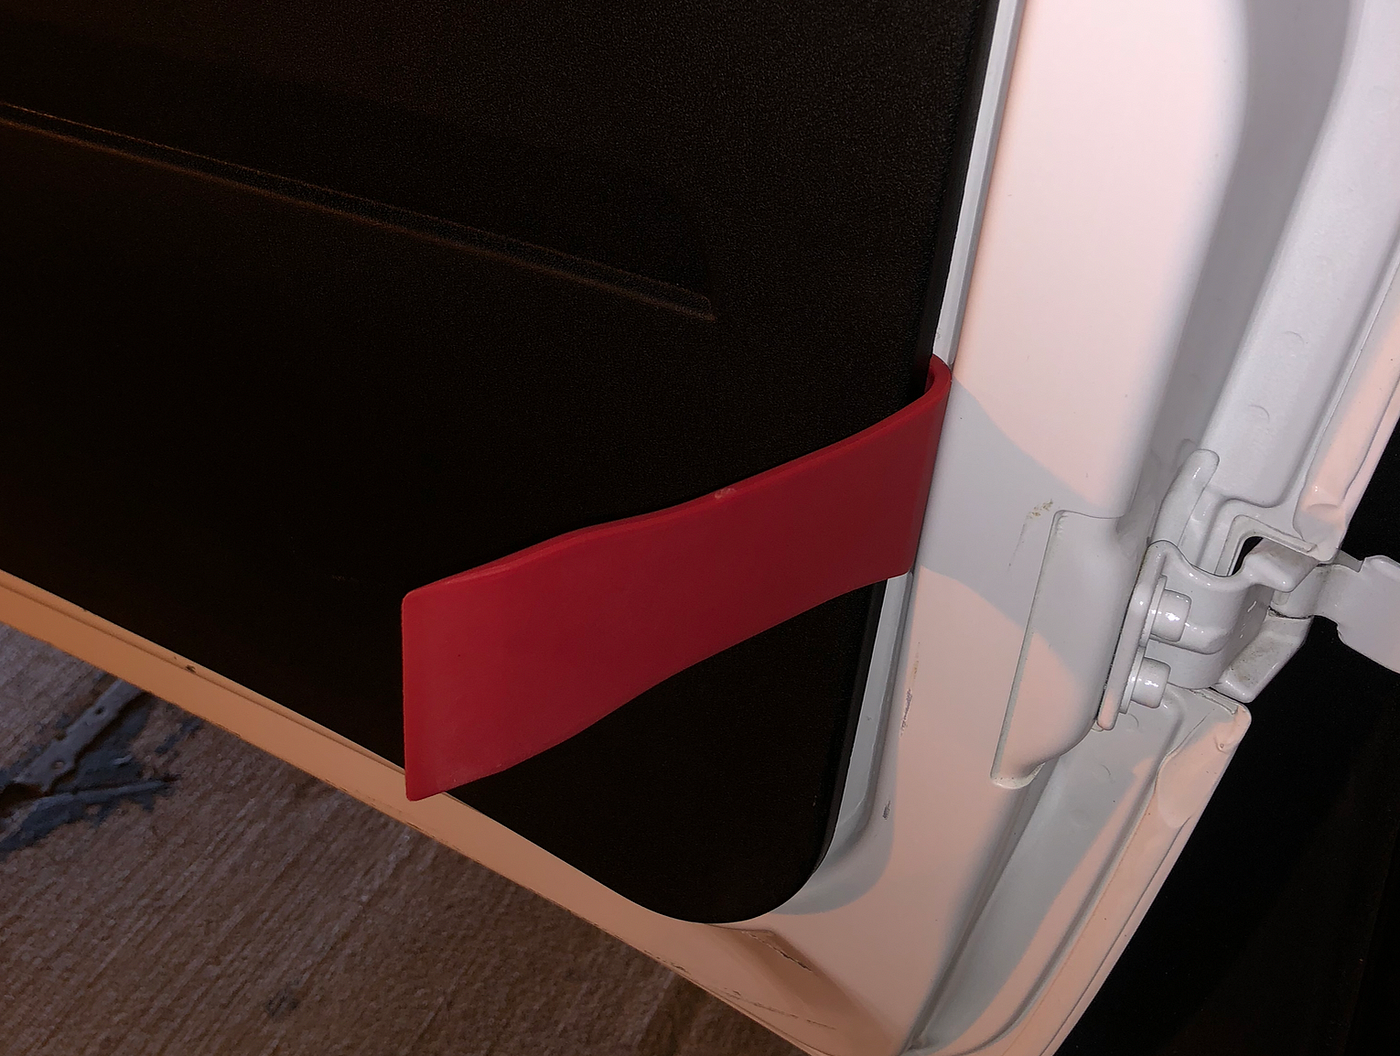
Remove the 12V vehicle ability from the driver'south side rear by pushing in and pushing up:
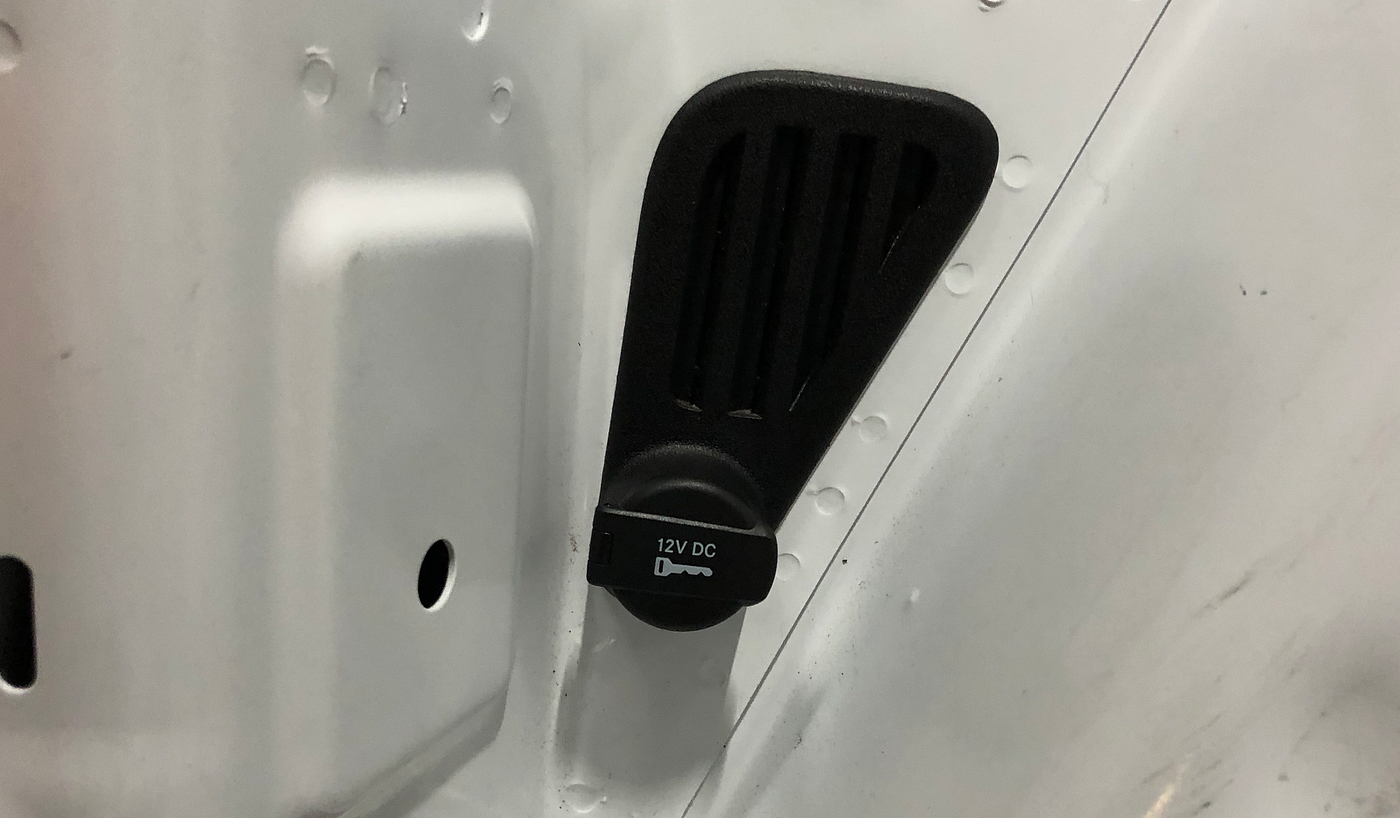
The power supply cable that comes with this camera isn't long enough. Cut around 5 ft of your own wire, demark together with tesa tape or nil ties, and snake through to the top hole so you can meet the existing ability supply cable.
Strip both wires and join them. I used solder.
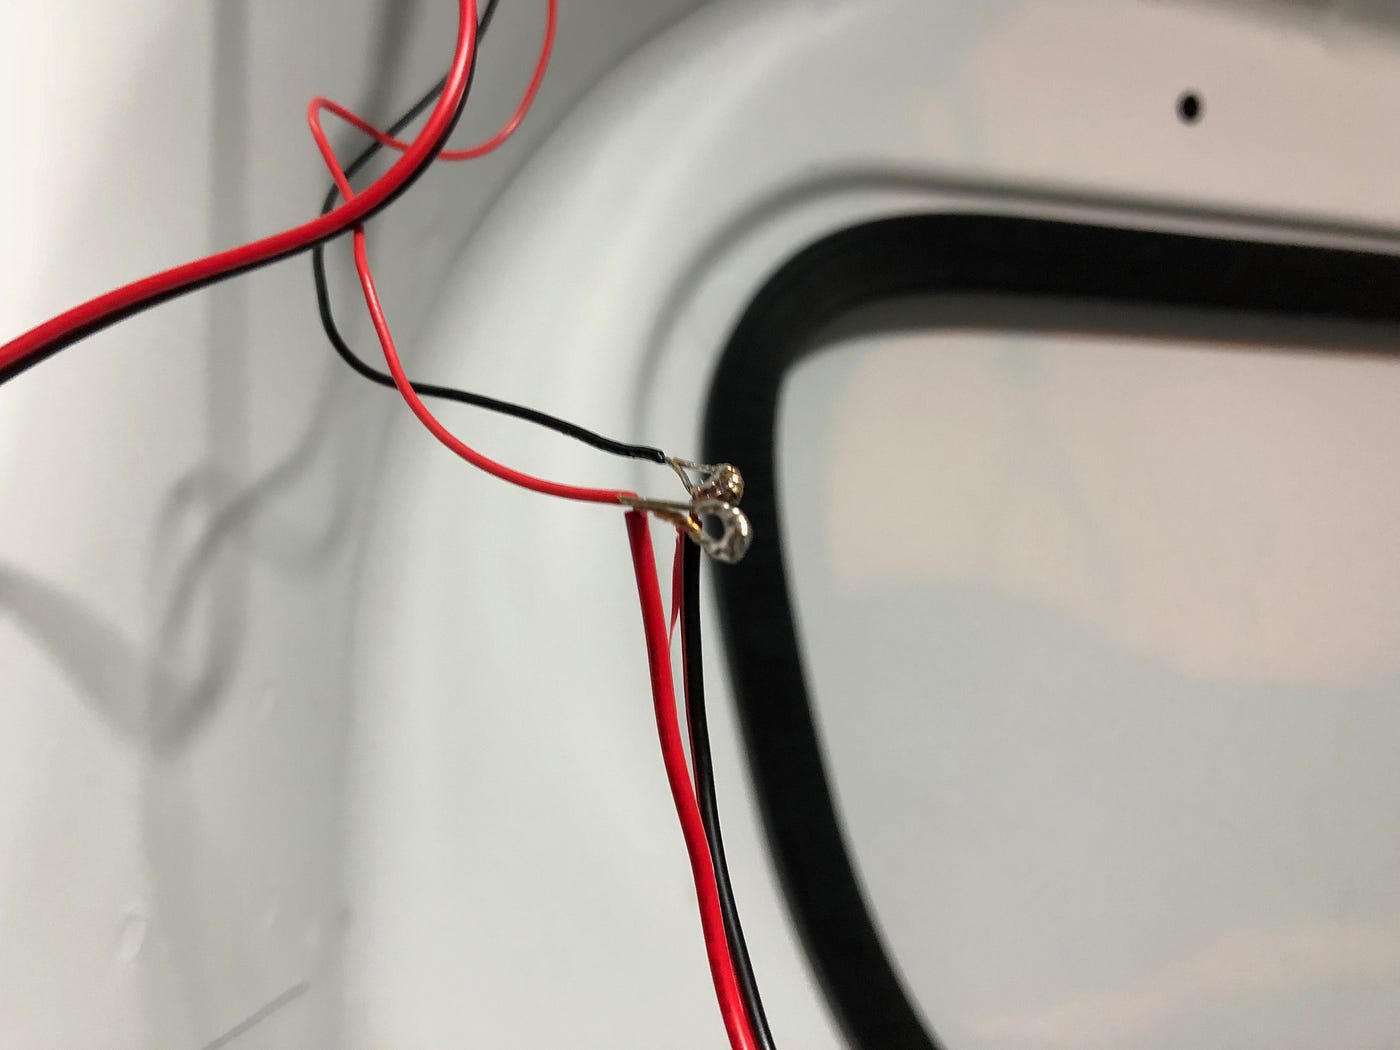
Then nix necktie the packet and stash abroad in that hole.

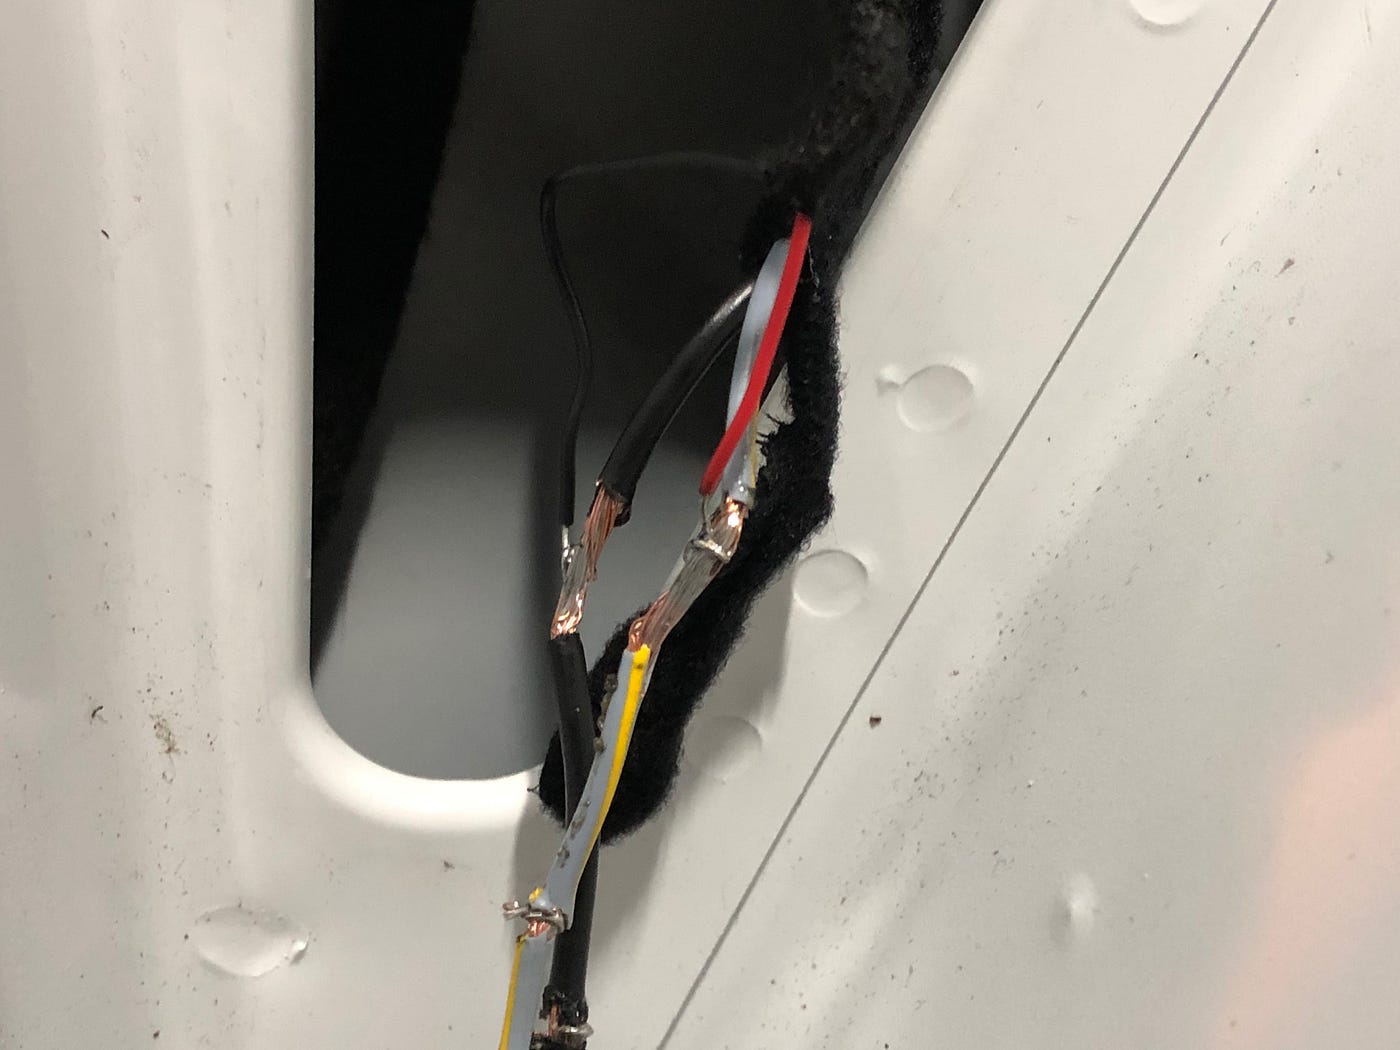
On the other terminate, you'll need to tap into the power supply. I stripped the wire and soldered my new wire inline:
Testing
It's always adept to test early so if anything went wrong y'all can gear up it without having to disassemble things again.
Connect the photographic camera to power and video, connect video to your radio, try putting your car in reverse and seeing if it works. If it doesn't work, test the leads for power and video. Note that in the pioneer radio you accept to go into the settings to enable the fill-in camera or AV input.
Mounting the Photographic camera
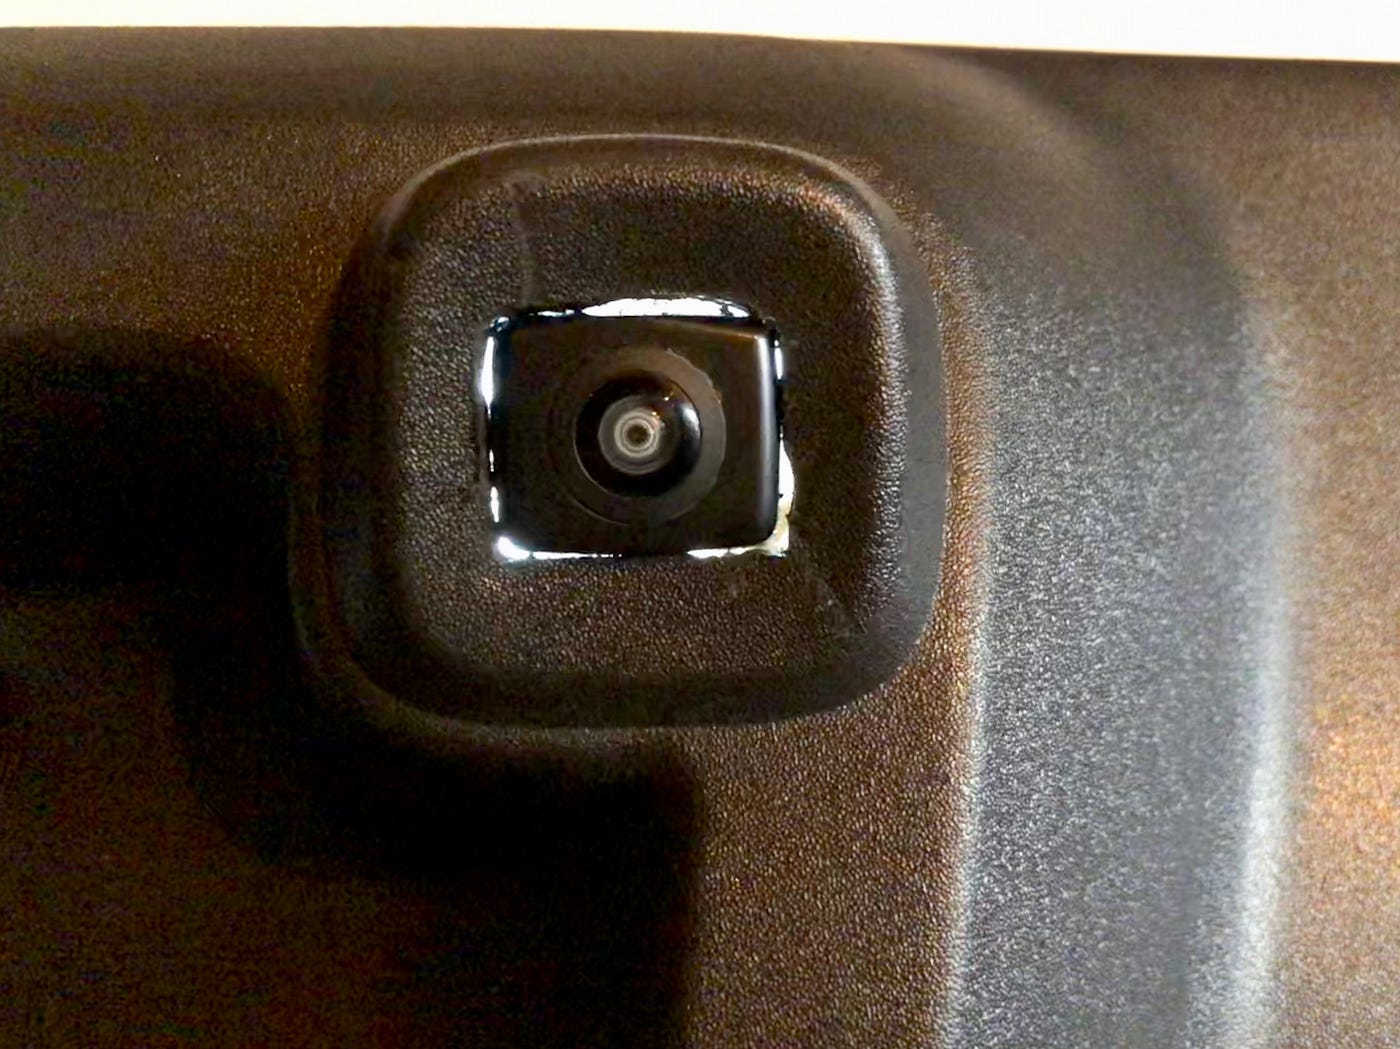
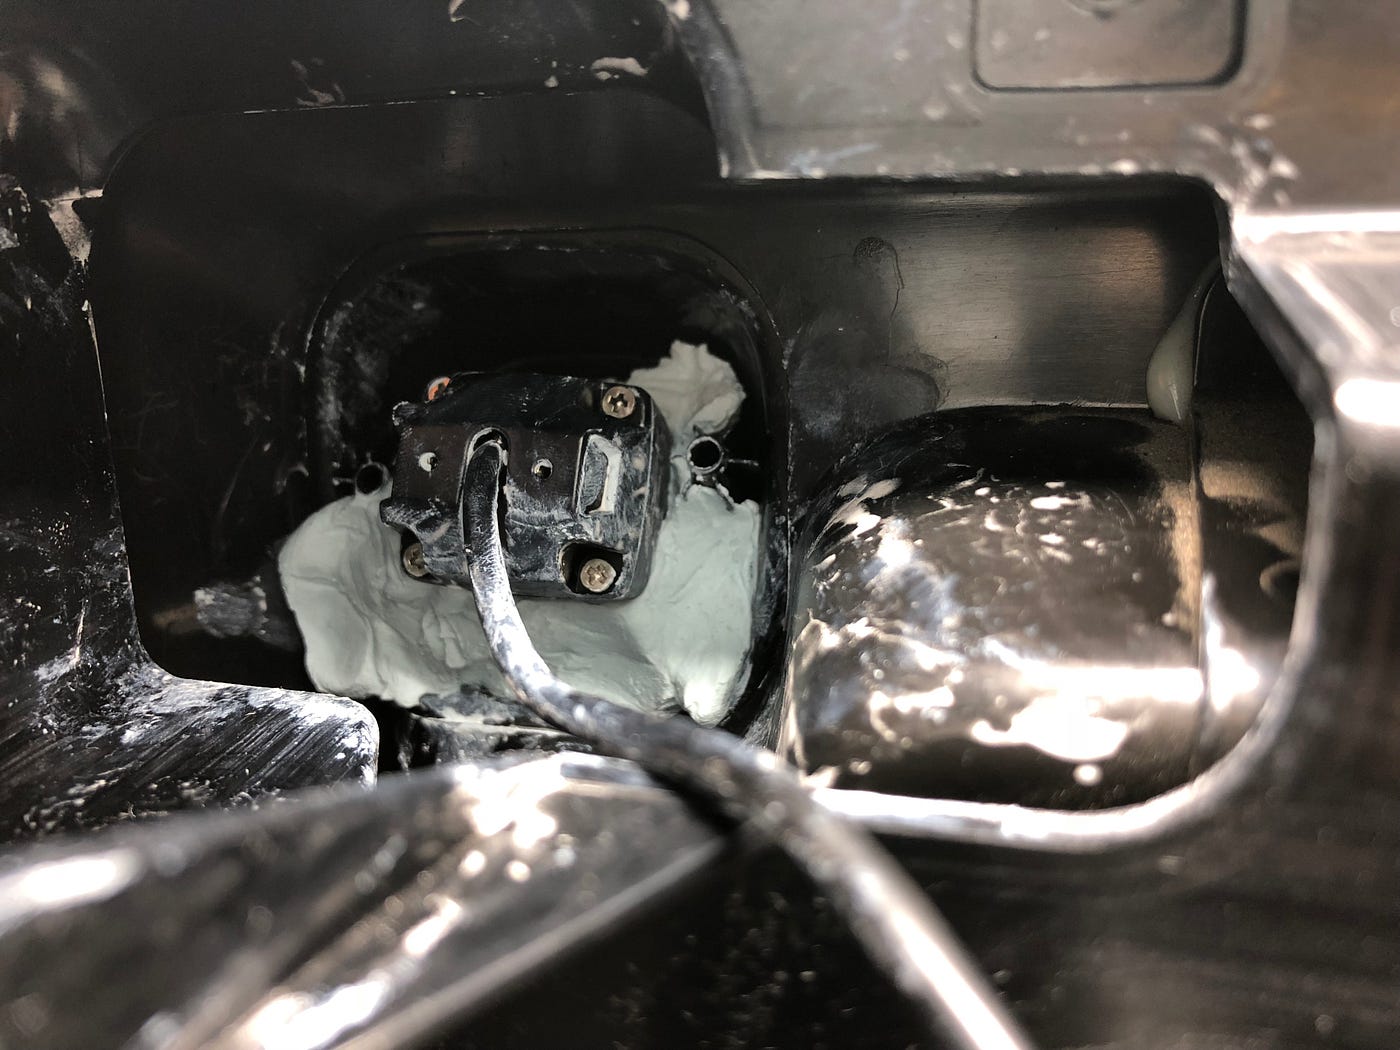
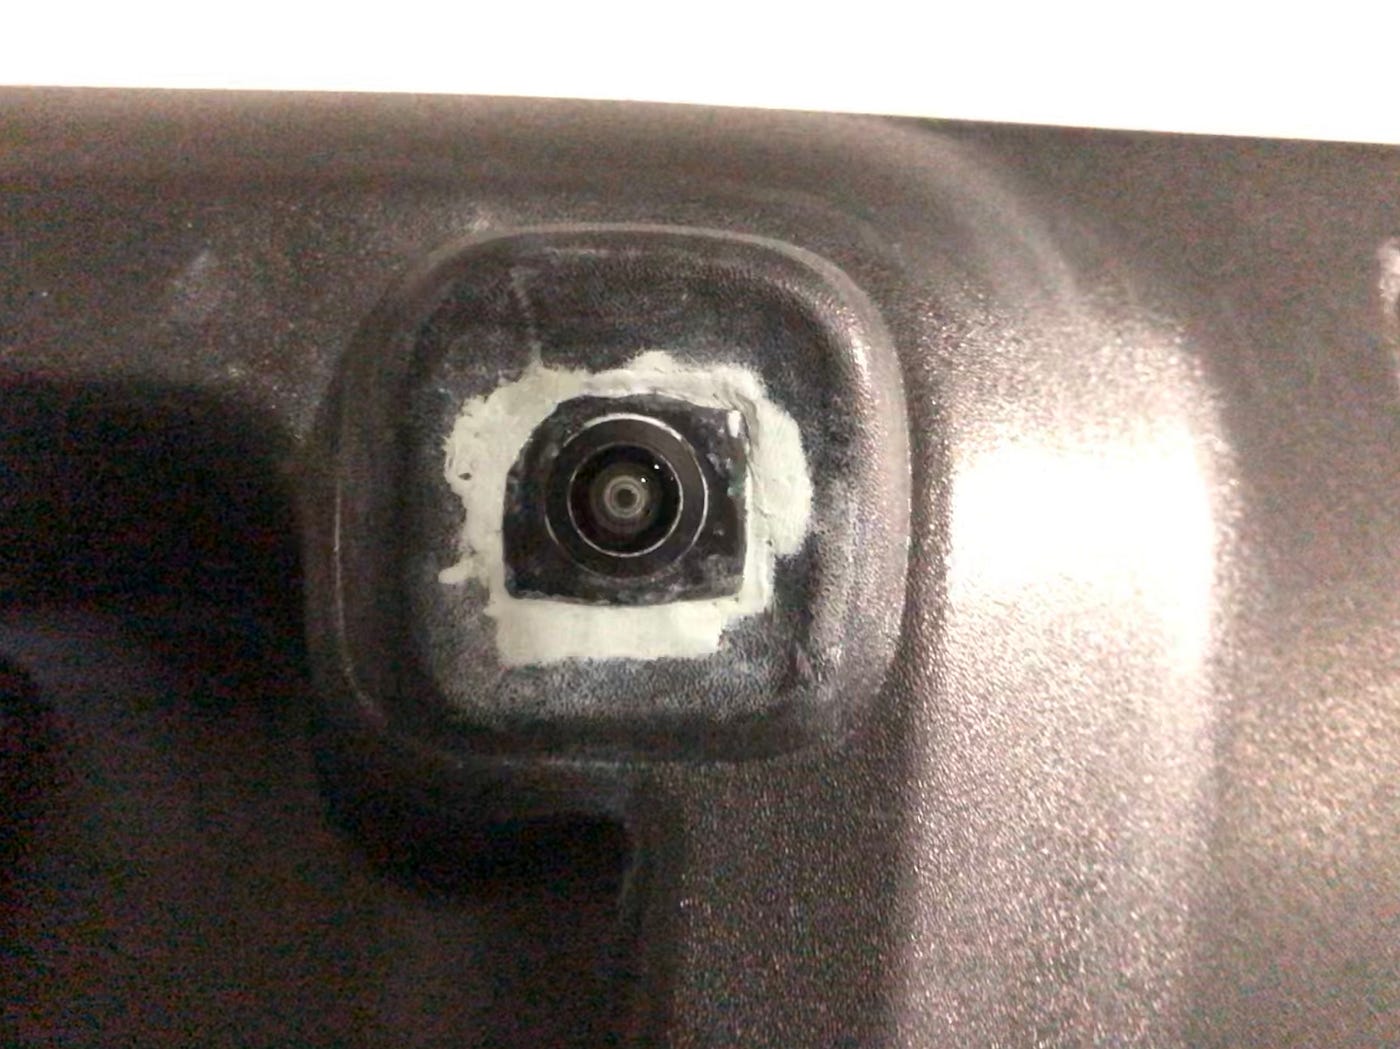
I spent a lot of fourth dimension considering my options for bracketing the camera on. After all, information technology you lot can see in the picture that there are two holes for screws. However, I found it then incredibly unwieldy to work in the pocket-sized space that I abased this plan (after losing a few screws to the void below). Instead I used epoxy, which hardens to produce a waterproof seal and binds the materials together.
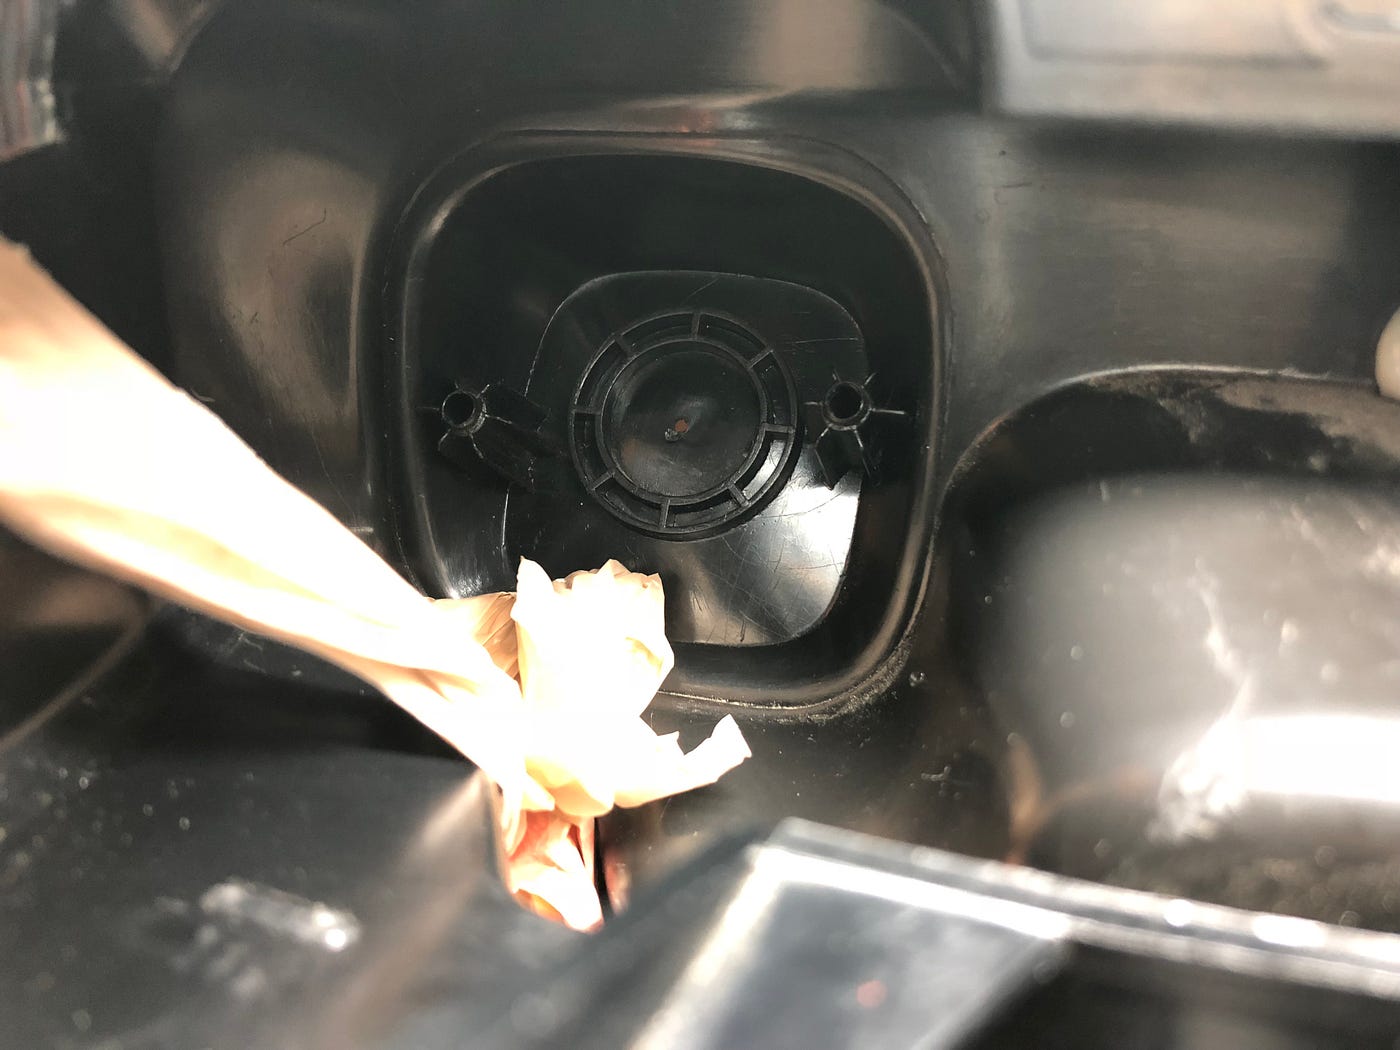
Yous'll want to cut out a large enough square hole to sit the unabridged forepart part of the camera in. Cutting a circular hole and sitting the camera behind it won't work with this camera I've chosen, as it'due south such a wide angle that the plastic obstructs function of its view.
Kickoff with the smallest pigsty and line it upwardly with the center.
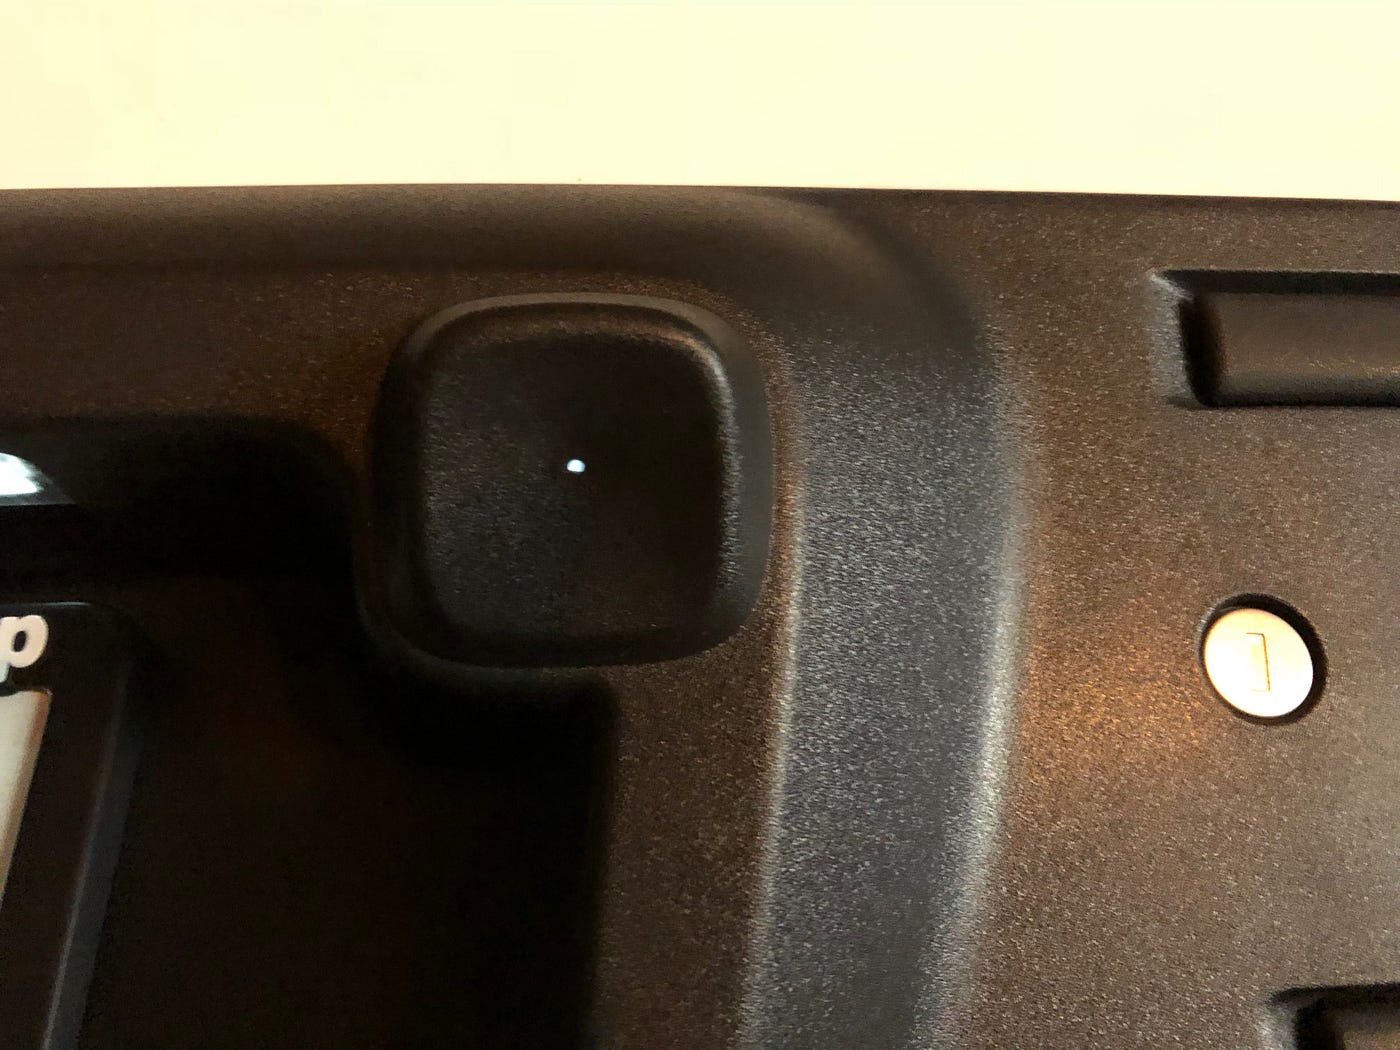
I followed up with the largest drill fleck I had, then used my dremel to cut away at cloth until the camera fit snugly.
Next cut out a piece of epoxy, follow directions to mix thoroughly. If you haven't used epoxy before (similar me), try information technology out on another materials before yous do the final adhesion, to go the hang of information technology.
Steps y'all'll want to continue in listen are:
- Brand sure you tin ready the epoxy 24 hours, every bit shut to room temperature every bit possible (beneath 60 degrees and information technology starts being problematic).
- Cover the photographic camera lens with painter's tape and so you don't go information technology dirty.
- Clean all surfaces thoroughly.
- Use a file or sandpaper to add some texture to the camera body.
I don't know how information technology'll hold up, just it seems to piece of work right now. In the time to come I'll find a way to pigment the epoxy and then information technology matches the color of the license frame as well.
Finalizing the Wiring
After testing everything works 1 final time, employ goose egg ties or tesa tape to tie the cables where appropriate. For case you lot probably want to tie the video cablevision to the factory cable lines to keep things neat. When you're done, you tin re-install your radio and re-attach the panels from before.
And that's it. Let me know in the comments below if you have any questions (if anything is unclear, etc). Thanks for reading.

Source: https://medium.com/@chris_41792/guide-how-to-install-a-backup-camera-in-a-ram-promaster-city-db479dd2fe78
Posted by: batcheldersweir1967.blogspot.com
0 Response to "How To Install Back Up Camera"
Post a Comment